
Search results (8)

Regular price
£2,545.00
Save 20%
Regular price
Price Match

Regular price
£4,845.00
Save 25%
Regular price
Price Match

Save 15%
0% Finance
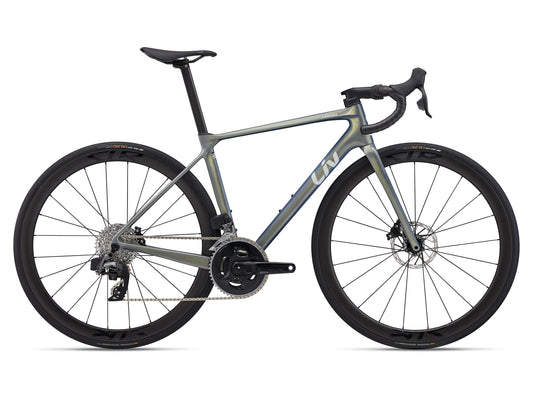
GIANT LIV LANGMA ADVANCED PRO 1 Di2 ROAD BIKE 2025 GLOSS AURORA NOISE **SCRATCHED**
Regular price
£4,164.15
Save 15%
Regular price
Price Match
Regular price
£3,645.00
Save 25%
Regular price
Price Match

Regular price
£7,095.00
Save 21%
Regular price
Price Match

Regular price
£3,745.00
Save 25%
Regular price
Price Match

Regular price
£10,199.15
Save 15%
Regular price
Price Match
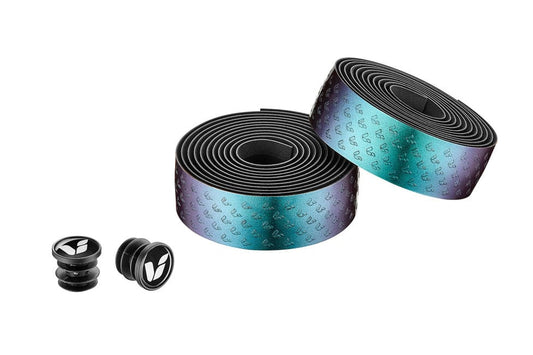
Sold out
GIANT LIV CHAMELEON BAR TAPE
Regular price
£16.19
Save 10%
Regular price