
Search results (10)

Regular price
£2,619.00
Save 34%
Regular price
Price Match

Save 34%
0% Finance
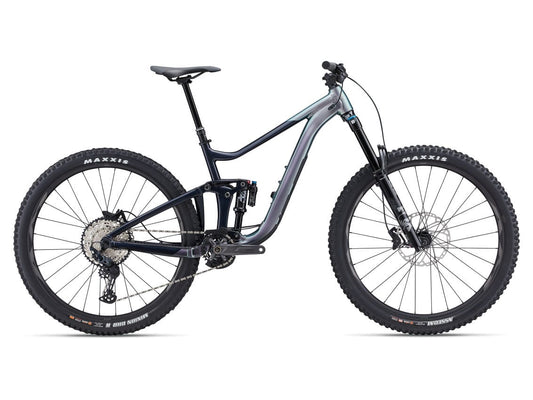
GIANT REIGN ADVANCED PRO 2 FULL SUSPENSION MTB BIKE 2023 GLOSS ORION NEBULA/CARBON
Regular price
£3,069.00
Save 34%
Regular price
Price Match

Save 33%
0% Finance
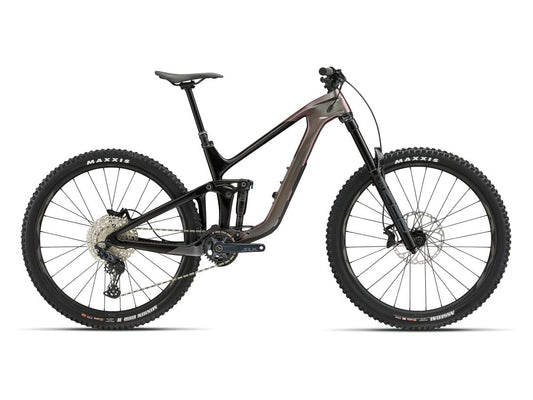
GIANT REIGN ADVANCED PRO 0 FULL SUSPENSION MTB BIKE 2023 GLOSS MESSIER/MATT CARBON SMOKE
Regular price
£8,310.00
Save 33%
Regular price
Price Match
Regular price
£17.99
Save 10%
Regular price

Save 10%
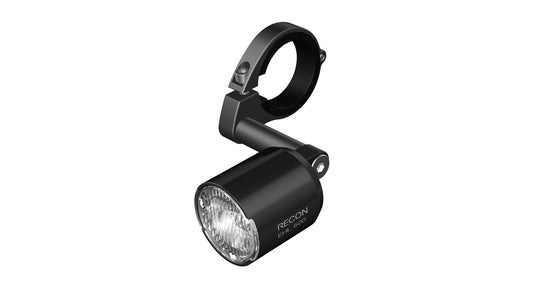
GIANT RECON E HL600
Regular price
£58.49
Save 10%
Regular price

Save 10%
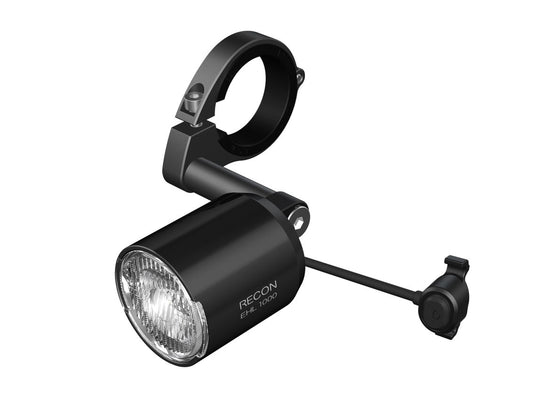
GIANT RECON E HL 1000
Regular price
£67.49
Save 10%
Regular price
Sold out
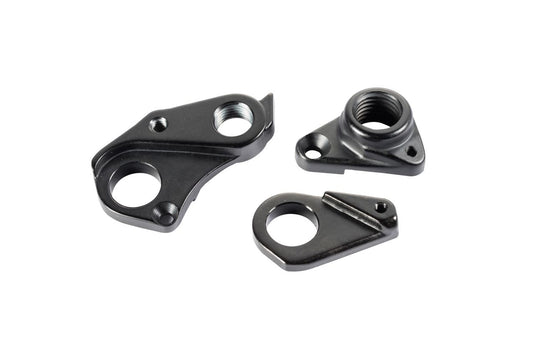
GIANT REIGN DROPOUT 2014 - 2017
Regular price
£13.49
Save 10%
Regular price
Regular price
£17.99
Save 10%
Regular price
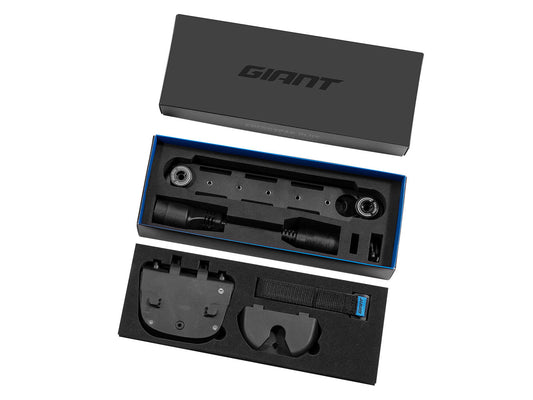

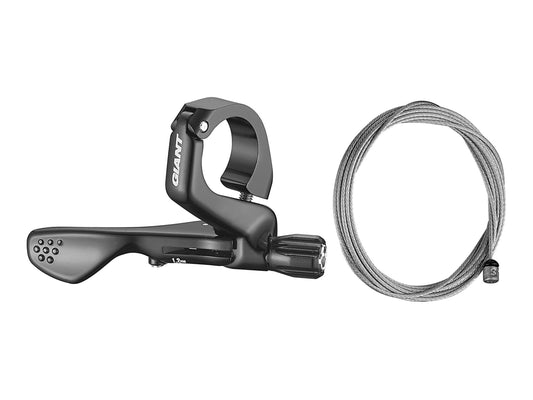
Regular price
£79.00
Regular price
£79.00
Sale price
£79.00
Unit price
per


Regular price
£349.00
Regular price
£349.00
Sale price
£349.00
Unit price
per