


Product Details
Product Details
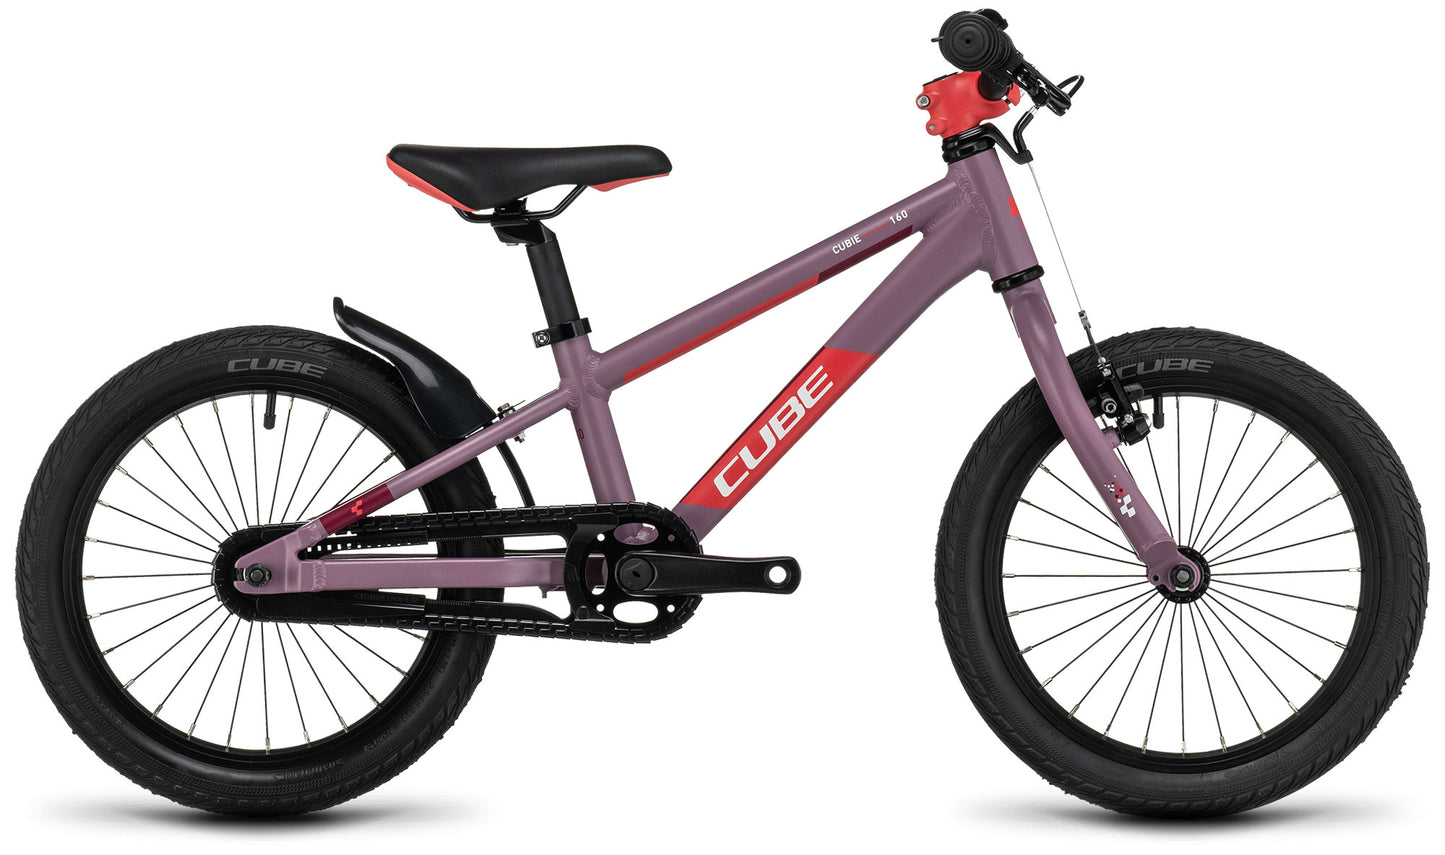
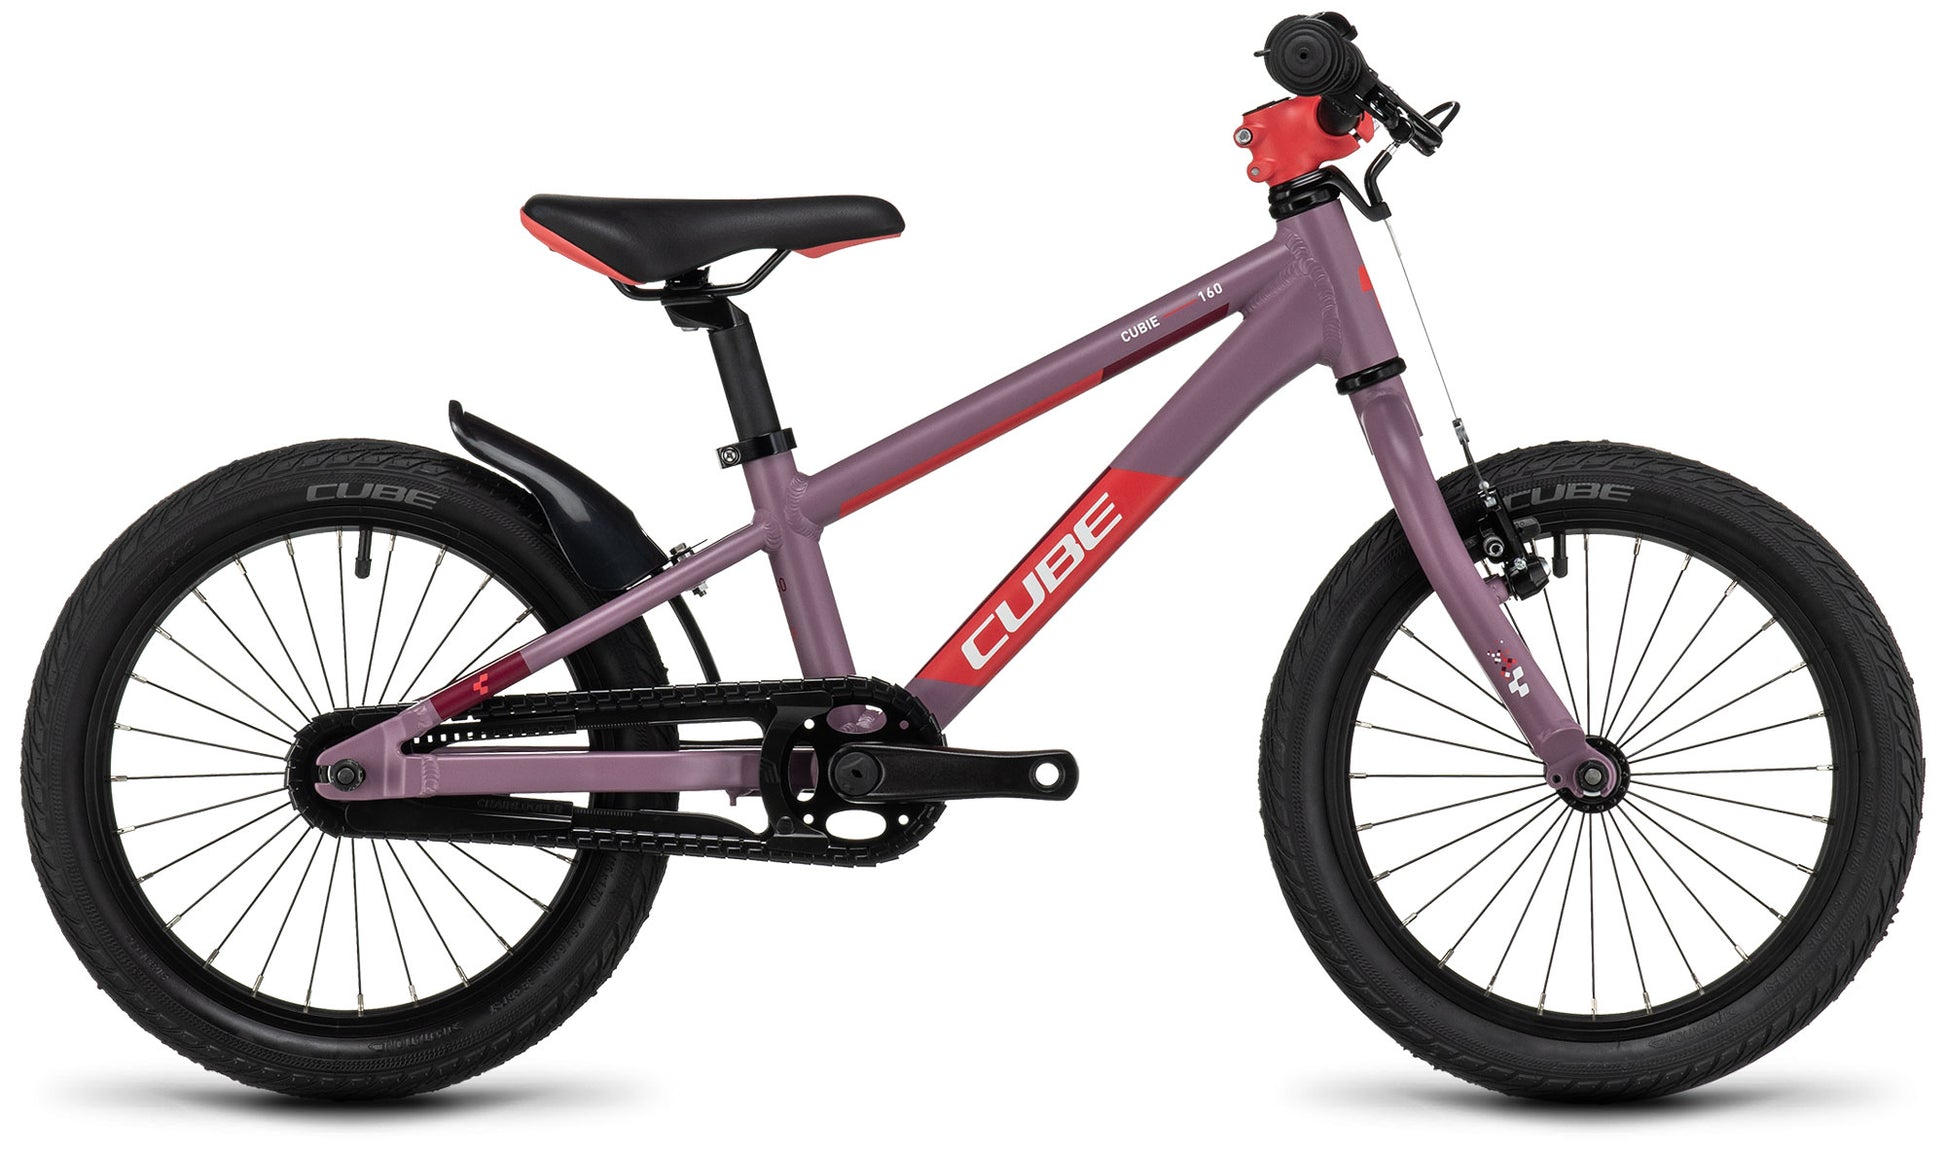
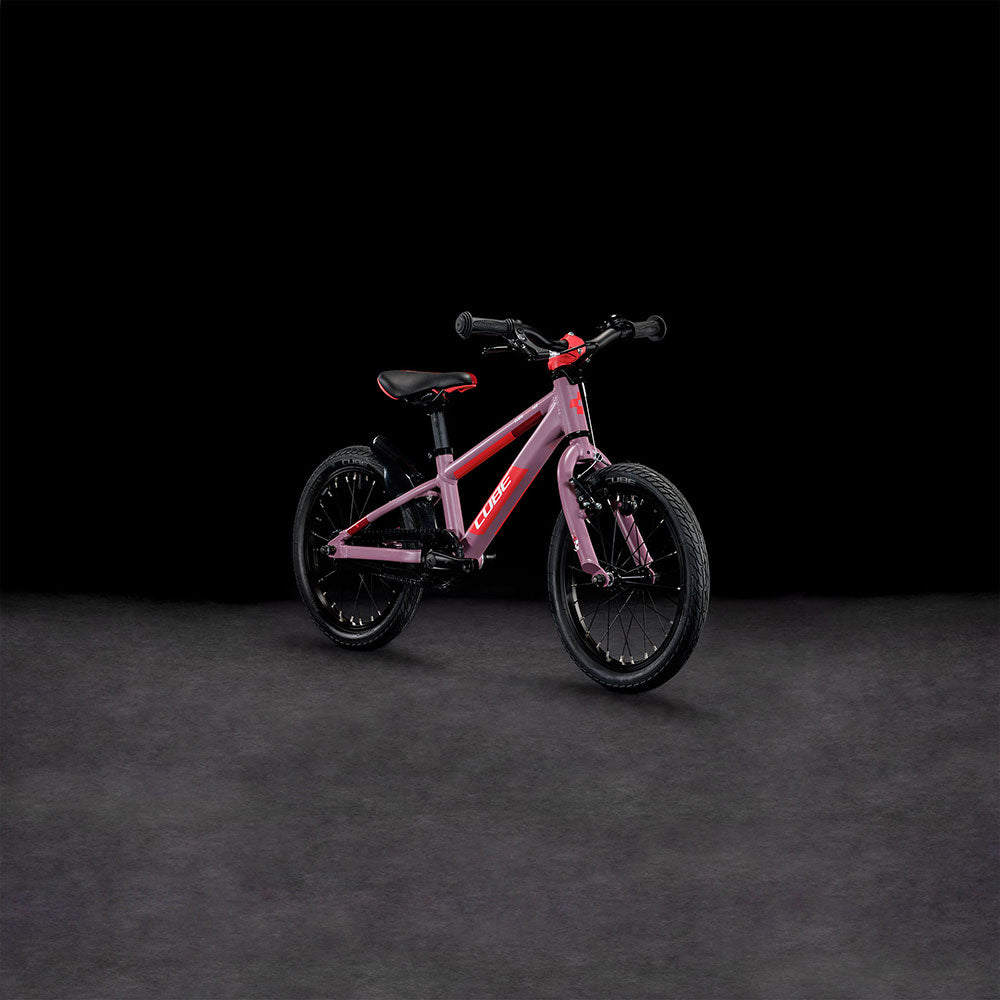
The CUBE Cubie 160 RT is the ideal introduction to the joys of pedal power – tough enough to stand up to enthusiastic use, but light enough to inspire.
Sensibly proportioned, child-friendly components are designed to last the course and to suit a growing child's build and strength perfectly. The transmission is safely enclosed out of harm's way, while a simple rear coaster brake and light, easy-to-use front rim brake give your aspiring rider the confidence they need to learn to control their speed safely. All that's missing is an adventurous spirit and a whole load of enthusiasm!
Key Features:
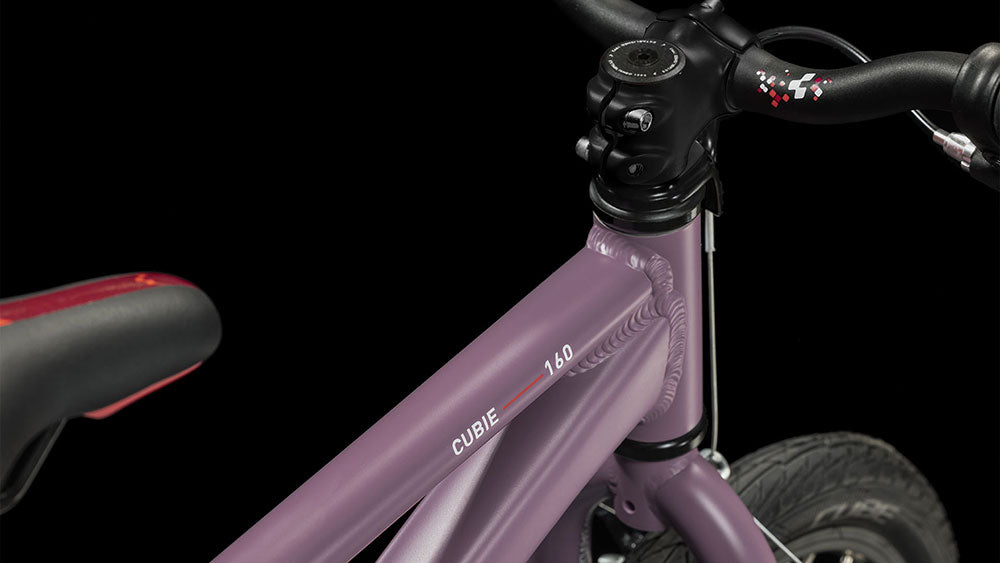
- Aluminium Frame: Lightweight & easy to manoeuvre, with a super-easy step-through geometry that's perfectly designed for short legs.
- Single Speed: Perfect for learning to pedal
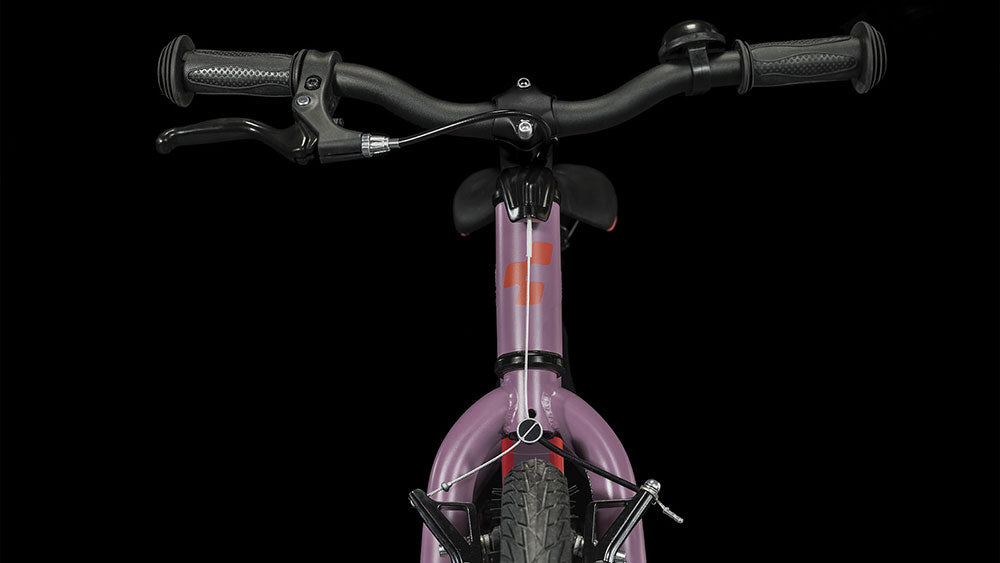
- Front V-Brake and Rear coaster brake: Ideal for leaning to keep your child in control
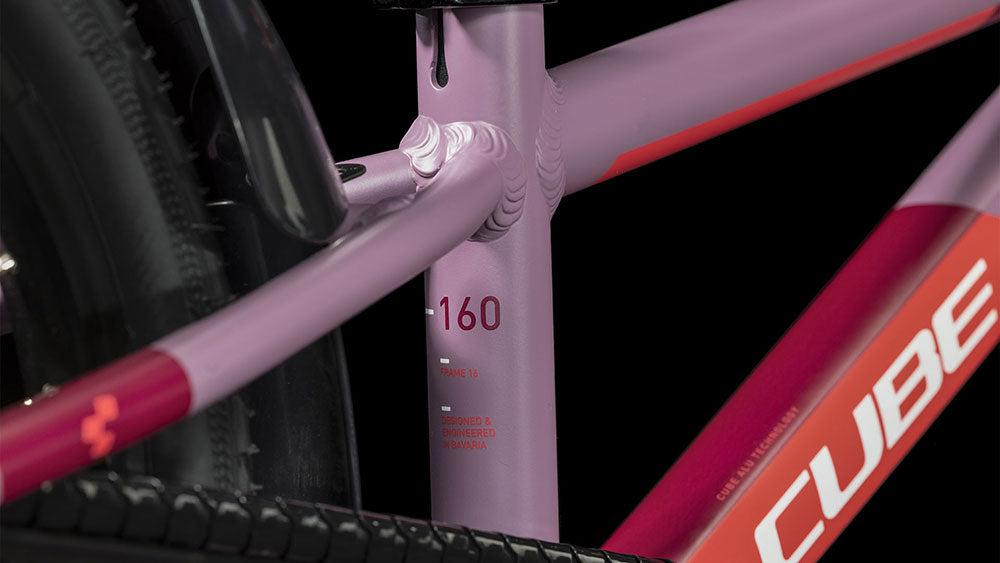
- Frame: Aluminium Lite 6061
- Fork: Rigid Hi-Ten fork
- Rims: 16" Aluminium
- Hubs: CUBE Aluminium
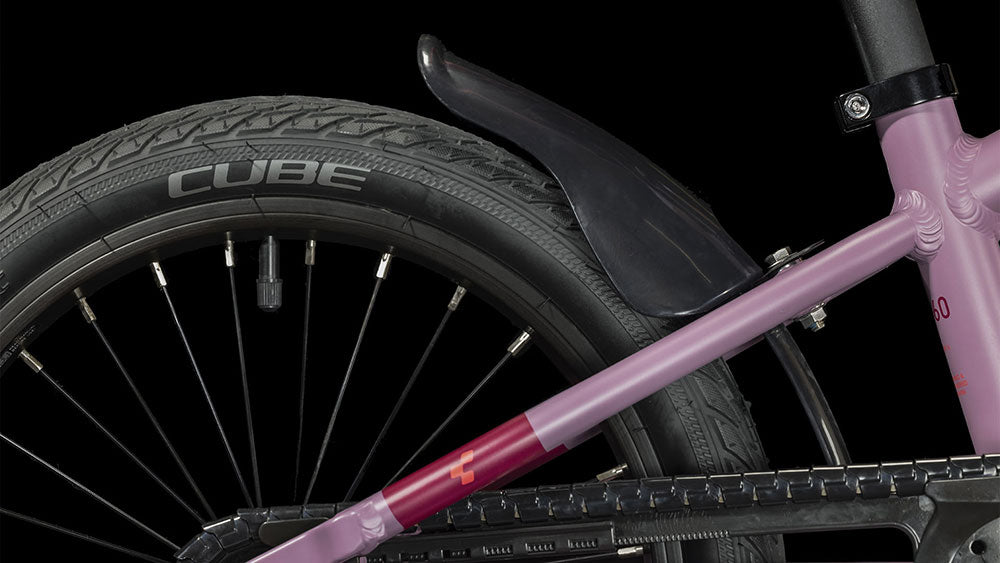
- Tyres: CUBE IMPAC Streetpac 1.75
- Pedals: CUBE Kid
- Brakes: Front: Alloy Cantilever, Rear: Coaster Brake
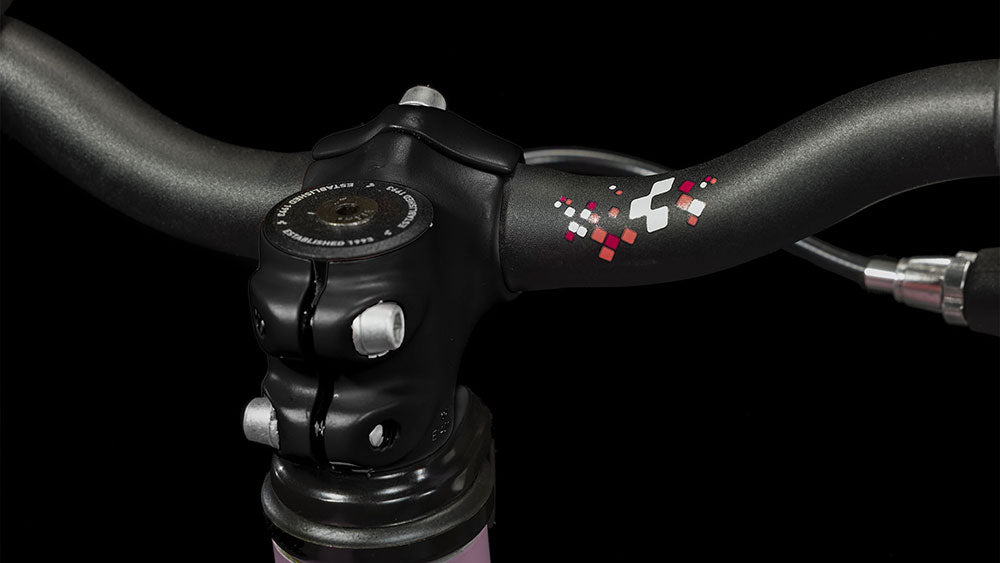
- Handlebars: CUBE Aluminium Lite, 450mm
- Handlebar Grips: CUBE Kid Grips
- Headset: CUBE A-Headset
- Stem: CUBE Aluminium Lite
- Saddle: CUBE Kid
- Seatpost: CUBE Aluminium Lite
- Crankset: Samox, 25T, 114mm with Chainlooper
- Chain: KMC S1
- Accessories: Bell Nuvo
- Weight: 7,4 kg
Just like with the adult bikes, the Cubie 160 RT blends the fun of responsive handling with the safety of stable, predictable steering – and the reassurance of having passed through the rigorous in-house testing processes. The lightweight 6061 aluminium frame features rounded edges and corners to help minimise the risk of injury, but it's also more than tough enough to stand up to enthusiastic use. And a choice of paint finishes means there's a Cubie 160 that'll capture every child's imagination.
We reserve the right to make changes to the product information contained on this site at any time without notice, including with respect to equipment, specifications, models, colours, materials and pricing. Due to supply chain issues, compatible parts may be substituted at any time without notice.
Bike and frame weights are based on pre-production painted frames at time of publication. Weights may vary in final production.
How to Build Your Bike
How to Build Your Bike
Aftercare
Aftercare
You Might Be Interested In
CUBE CUBIE 160 RT KID'S BIKE 2023 - ROSE 'N' CORAL
SKU: 62112016
EPOS Code:
Product Description
Product Description
The CUBE Cubie 160 RT is the ideal introduction to the joys of pedal power – tough enough to stand up to enthusiastic use, but light enough to inspire.
Sensibly proportioned, child-friendly components are designed to last the course and to suit a growing child's build and strength perfectly. The transmission is safely enclosed out of harm's way, while a simple rear coaster brake and light, easy-to-use front rim brake give your aspiring rider the confidence they need to learn to control their speed safely. All that's missing is an adventurous spirit and a whole load of enthusiasm!
Key Features:
- Aluminium Frame: Lightweight & easy to manoeuvre, with a super-easy step-through geometry that's perfectly designed for short legs.
- Single Speed: Perfect for learning to pedal
- Front V-Brake and Rear coaster brake: Ideal for leaning to keep your child in control
- Frame: Aluminium Lite 6061
- Fork: Rigid Hi-Ten fork
- Rims: 16" Aluminium
- Hubs: CUBE Aluminium
- Tyres: CUBE IMPAC Streetpac 1.75
- Pedals: CUBE Kid
- Brakes: Front: Alloy Cantilever, Rear: Coaster Brake
- Handlebars: CUBE Aluminium Lite, 450mm
- Handlebar Grips: CUBE Kid Grips
- Headset: CUBE A-Headset
- Stem: CUBE Aluminium Lite
- Saddle: CUBE Kid
- Seatpost: CUBE Aluminium Lite
- Crankset: Samox, 25T, 114mm with Chainlooper
- Chain: KMC S1
- Accessories: Bell Nuvo
- Weight: 7,4 kg
Just like with the adult bikes, the Cubie 160 RT blends the fun of responsive handling with the safety of stable, predictable steering – and the reassurance of having passed through the rigorous in-house testing processes. The lightweight 6061 aluminium frame features rounded edges and corners to help minimise the risk of injury, but it's also more than tough enough to stand up to enthusiastic use. And a choice of paint finishes means there's a Cubie 160 that'll capture every child's imagination.
We reserve the right to make changes to the product information contained on this site at any time without notice, including with respect to equipment, specifications, models, colours, materials and pricing. Due to supply chain issues, compatible parts may be substituted at any time without notice.
Bike and frame weights are based on pre-production painted frames at time of publication. Weights may vary in final production.
How to Build Your Bike
How to Build Your Bike
Aftercare
Aftercare
You Might Be Interested In