Product Details
Product Details
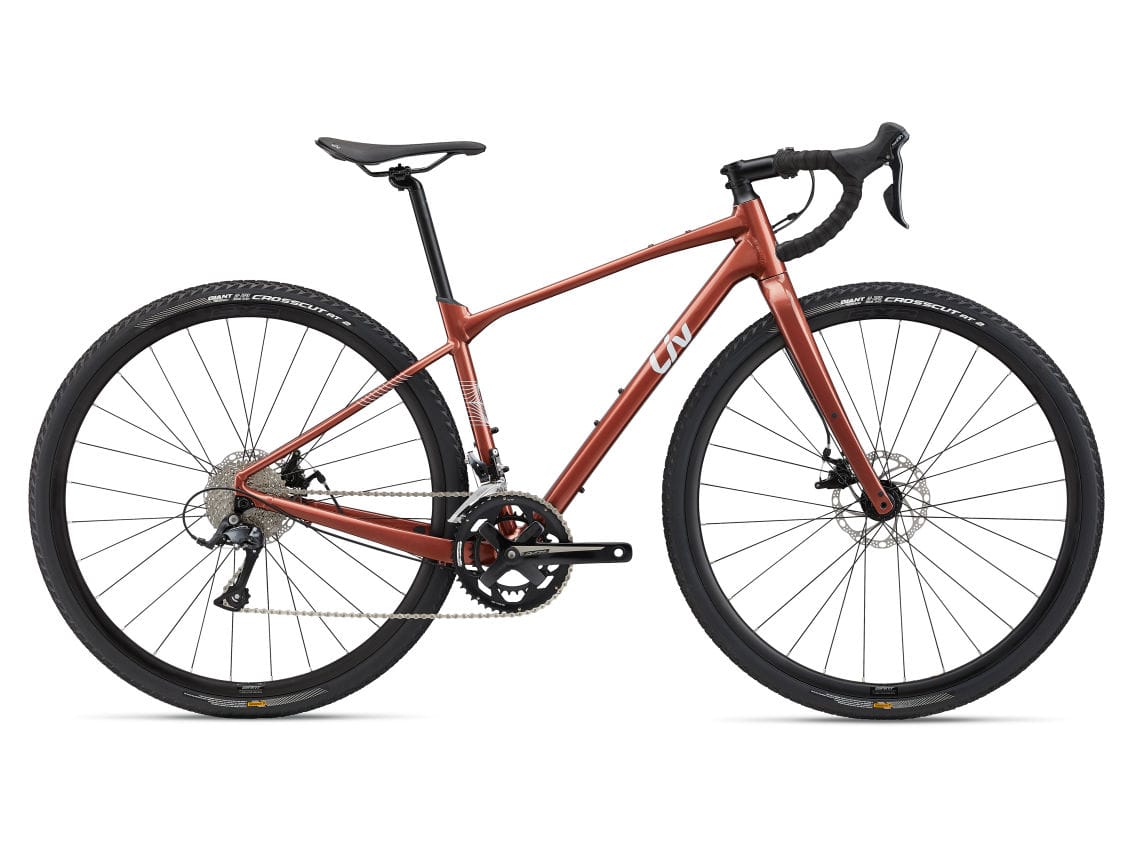
FROM BIKEPACKING AND GRAVEL GRINDERS TO EVERYDAY ADVENTURE RIDES AND GROUP TREKKING, DEVOTE ADVANCED HAS WHAT IT TAKES TO STIR YOUR BACKCOUNTRY DESIRES.
Key Features
- Lightweight: Durable ALUXX-Grade Aluminum with Advanced-Grade Composite fork to damp vibration from chattery roads.
- Clearance for 45c tyres: Adventure ready withmounts for racks, accessories and three water bottle cages
- Dropper post compatibility: You can also choose the included D-Fuse seatpost for maximum compliance, or switch to a 30.9mm round or dropper post.
- Frame: ALUXX-Grade Aluminum, 12x142mm thru-axle, disc
- Fork: Advanced-Grade Composite, full-composite OverDrive steerer, 12mm thru-axle, disc
- Gear Shifters: Shimano Sora, 2x9
- Chainset: FSA Vero Pro, 32/48 XS:165mm, S:170mm, M:172.5mm, L:172.5mm
- Chainrings: 32/48 teeth
- Rear Cassette: Shimano HG400, 11x34
- Chain:KMC X9 with Missing Link
- Front Derailleur: Shimano Sora
- Rear Derailleur: Shimano Sora, long cage
- Bottom Bracket: FSA cartridge
- Pedals: Not Included
- Rims: GiantS-X2 Disc wheelset
- Front Hub: GiantS-X2 Disc wheelset
- Rear Hub: GiantS-X2 Disc wheelset
- Front Tyre: Giant CrossCut AT 2, 700x38c, tubeless
- Rear Tyre: Giant CrossCut AT 2, 700x38c, tubeless
- Brakes: Tektro MD-C550 mechanical, Giant MPH rotors [F]160mm, [R]160mm
- Handlebars: GiantContact XR D-Fuse, 31.8 XS:40cm, S:40cm, M:42cm, L:42cm
- Handlebar Tape: Liv All Condition
- Stem: GiantSport XS:70mm, S:80mm, M:90mm, L:90mm
- Saddle: Liv Approach
- Seatpost: GiantD-Fuse, Alloy, 14mm offset
- Accessories: Factory tubeless set up, 50mm max tyre size
- Weight: N/A
We reserve the right to make changes to the product information contained on this site at any time without notice, including with respect to equipment, specifications, models, colours, materials and pricing. Due to supply chain issues, compatible parts may be substituted at any time without notice.
Weights are based off pre-production products at time of publication. Weights may vary in final production.
How to Build Your Bike
How to Build Your Bike
Aftercare
Aftercare
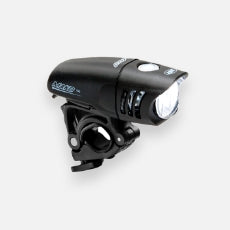
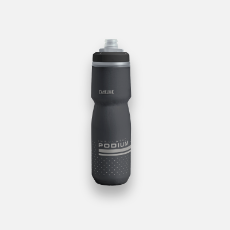
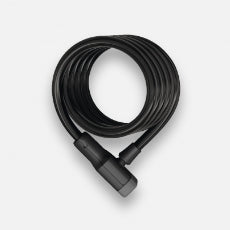
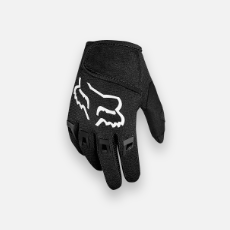
You Might Be Interested In
GIANT LIV DEVOTE 2 GRAVEL BIKE 2022 - TERRACOTTA
SKU: 2212020114
EPOS Code:
Product Description
Product Description
FROM BIKEPACKING AND GRAVEL GRINDERS TO EVERYDAY ADVENTURE RIDES AND GROUP TREKKING, DEVOTE ADVANCED HAS WHAT IT TAKES TO STIR YOUR BACKCOUNTRY DESIRES.
Key Features
- Lightweight: Durable ALUXX-Grade Aluminum with Advanced-Grade Composite fork to damp vibration from chattery roads.
- Clearance for 45c tyres: Adventure ready withmounts for racks, accessories and three water bottle cages
- Dropper post compatibility: You can also choose the included D-Fuse seatpost for maximum compliance, or switch to a 30.9mm round or dropper post.
- Frame: ALUXX-Grade Aluminum, 12x142mm thru-axle, disc
- Fork: Advanced-Grade Composite, full-composite OverDrive steerer, 12mm thru-axle, disc
- Gear Shifters: Shimano Sora, 2x9
- Chainset: FSA Vero Pro, 32/48 XS:165mm, S:170mm, M:172.5mm, L:172.5mm
- Chainrings: 32/48 teeth
- Rear Cassette: Shimano HG400, 11x34
- Chain:KMC X9 with Missing Link
- Front Derailleur: Shimano Sora
- Rear Derailleur: Shimano Sora, long cage
- Bottom Bracket: FSA cartridge
- Pedals: Not Included
- Rims: GiantS-X2 Disc wheelset
- Front Hub: GiantS-X2 Disc wheelset
- Rear Hub: GiantS-X2 Disc wheelset
- Front Tyre: Giant CrossCut AT 2, 700x38c, tubeless
- Rear Tyre: Giant CrossCut AT 2, 700x38c, tubeless
- Brakes: Tektro MD-C550 mechanical, Giant MPH rotors [F]160mm, [R]160mm
- Handlebars: GiantContact XR D-Fuse, 31.8 XS:40cm, S:40cm, M:42cm, L:42cm
- Handlebar Tape: Liv All Condition
- Stem: GiantSport XS:70mm, S:80mm, M:90mm, L:90mm
- Saddle: Liv Approach
- Seatpost: GiantD-Fuse, Alloy, 14mm offset
- Accessories: Factory tubeless set up, 50mm max tyre size
- Weight: N/A
We reserve the right to make changes to the product information contained on this site at any time without notice, including with respect to equipment, specifications, models, colours, materials and pricing. Due to supply chain issues, compatible parts may be substituted at any time without notice.
Weights are based off pre-production products at time of publication. Weights may vary in final production.
How to Build Your Bike
How to Build Your Bike
Aftercare
Aftercare
You Might Be Interested In