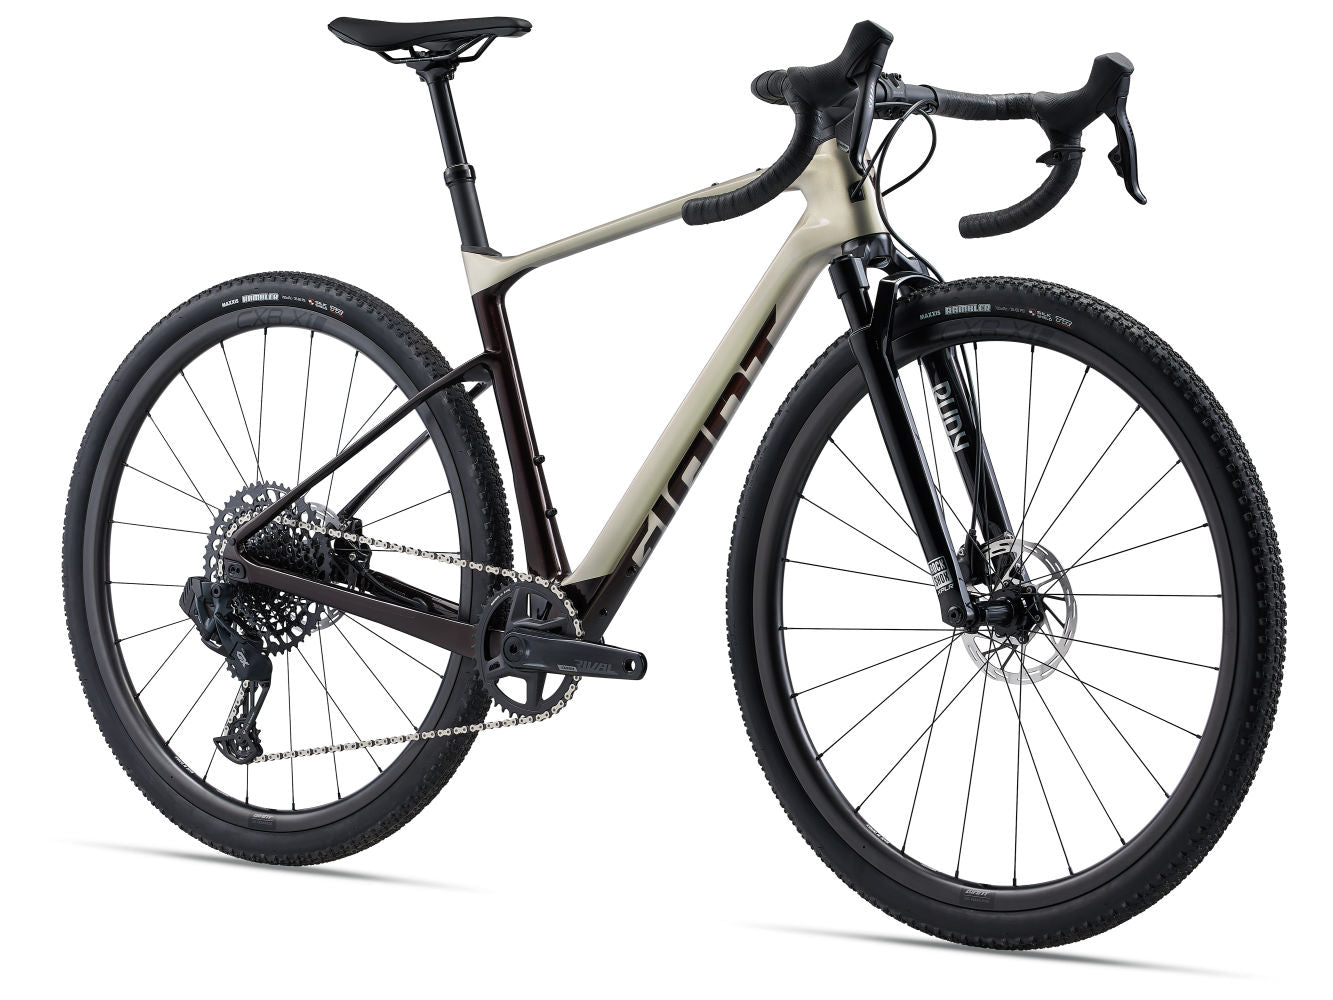
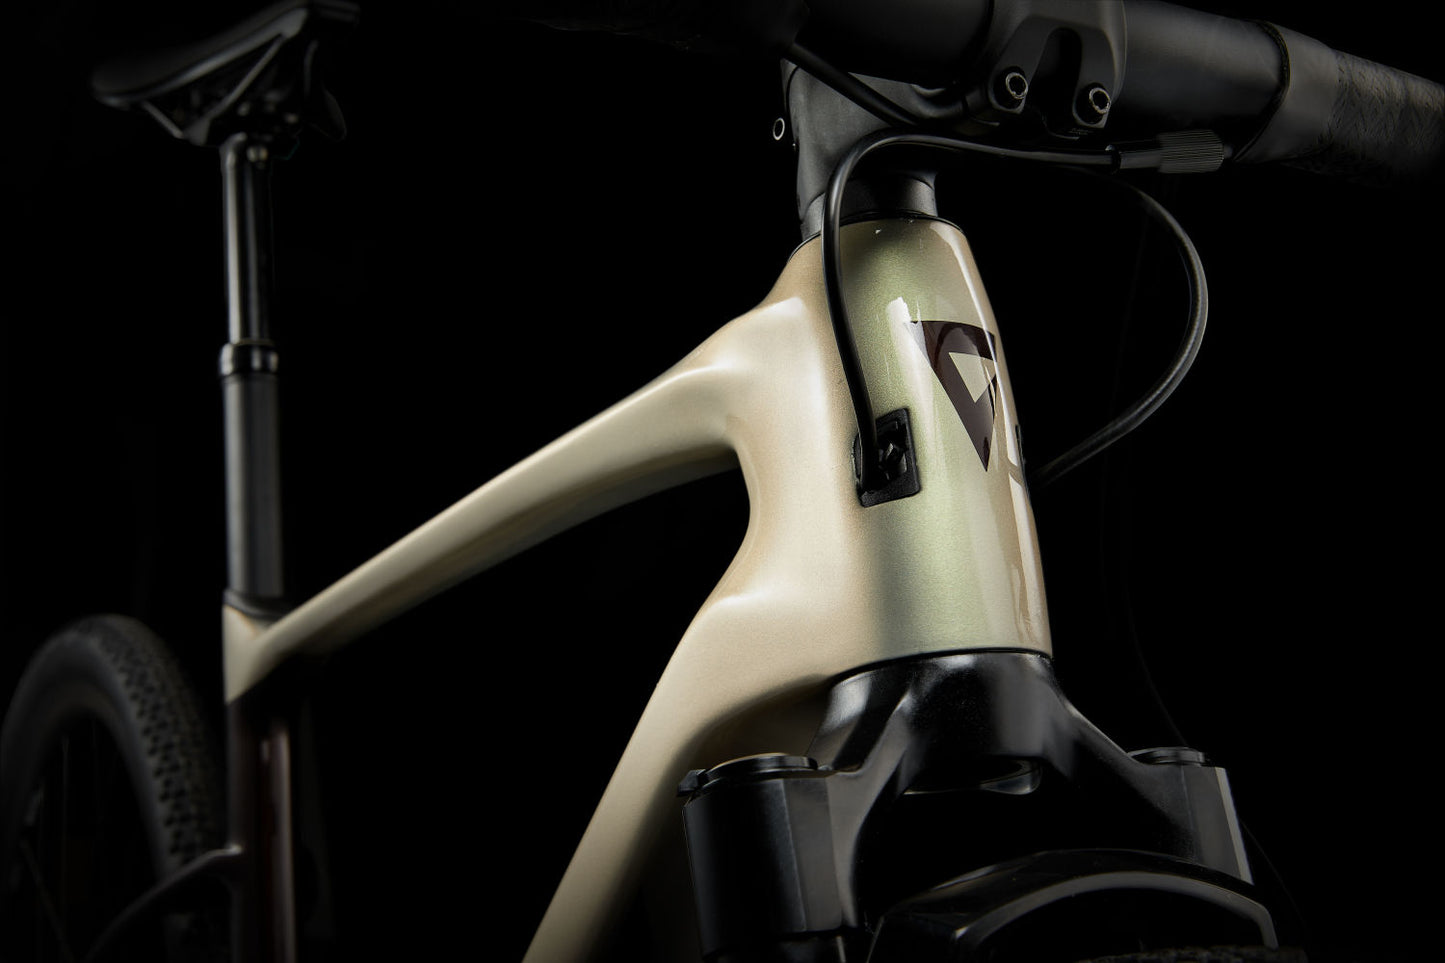
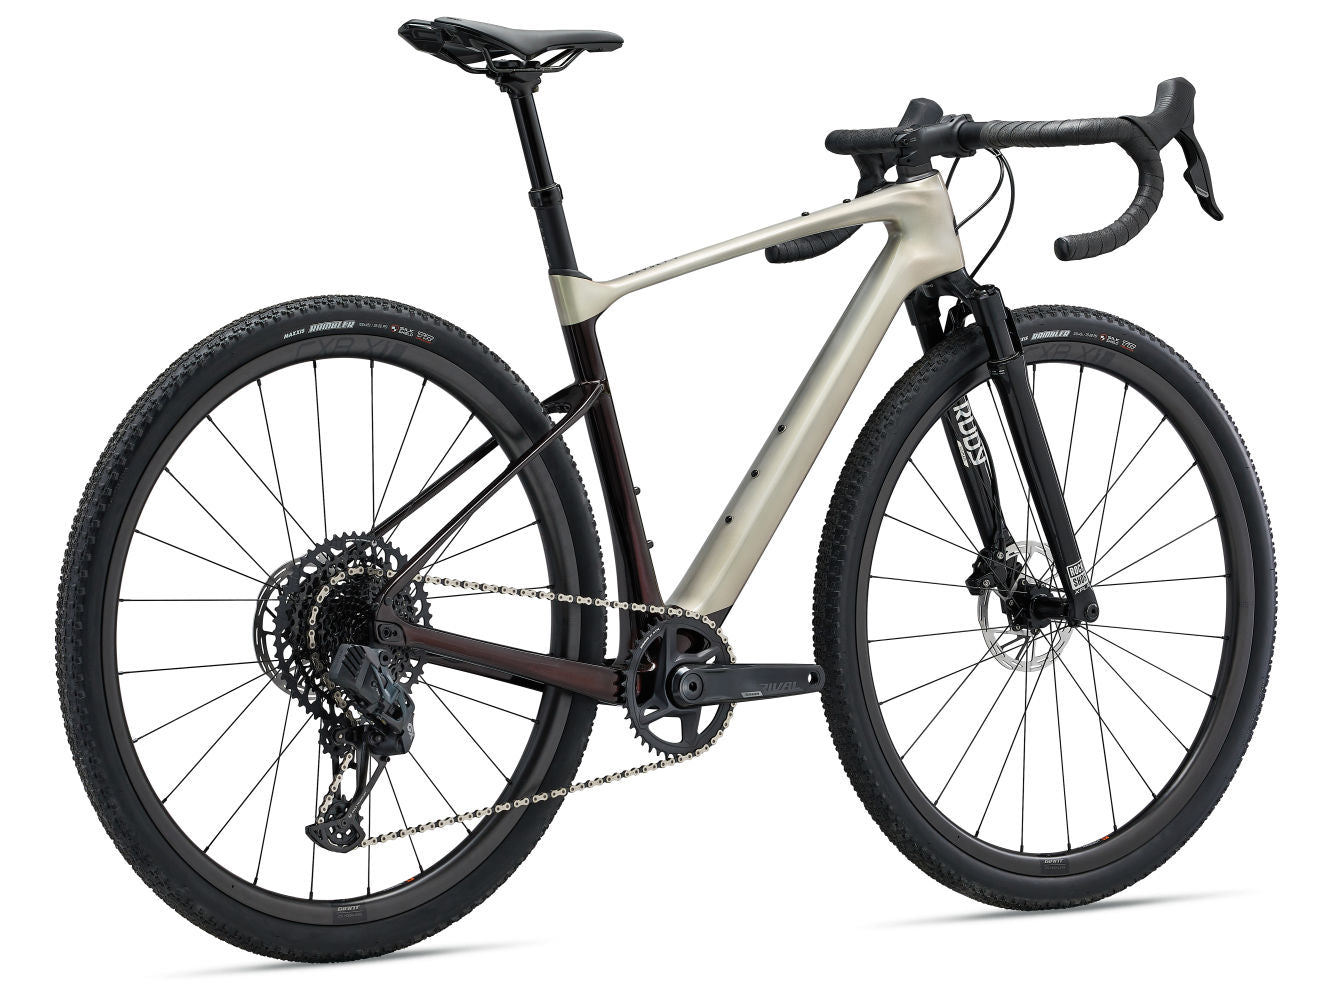
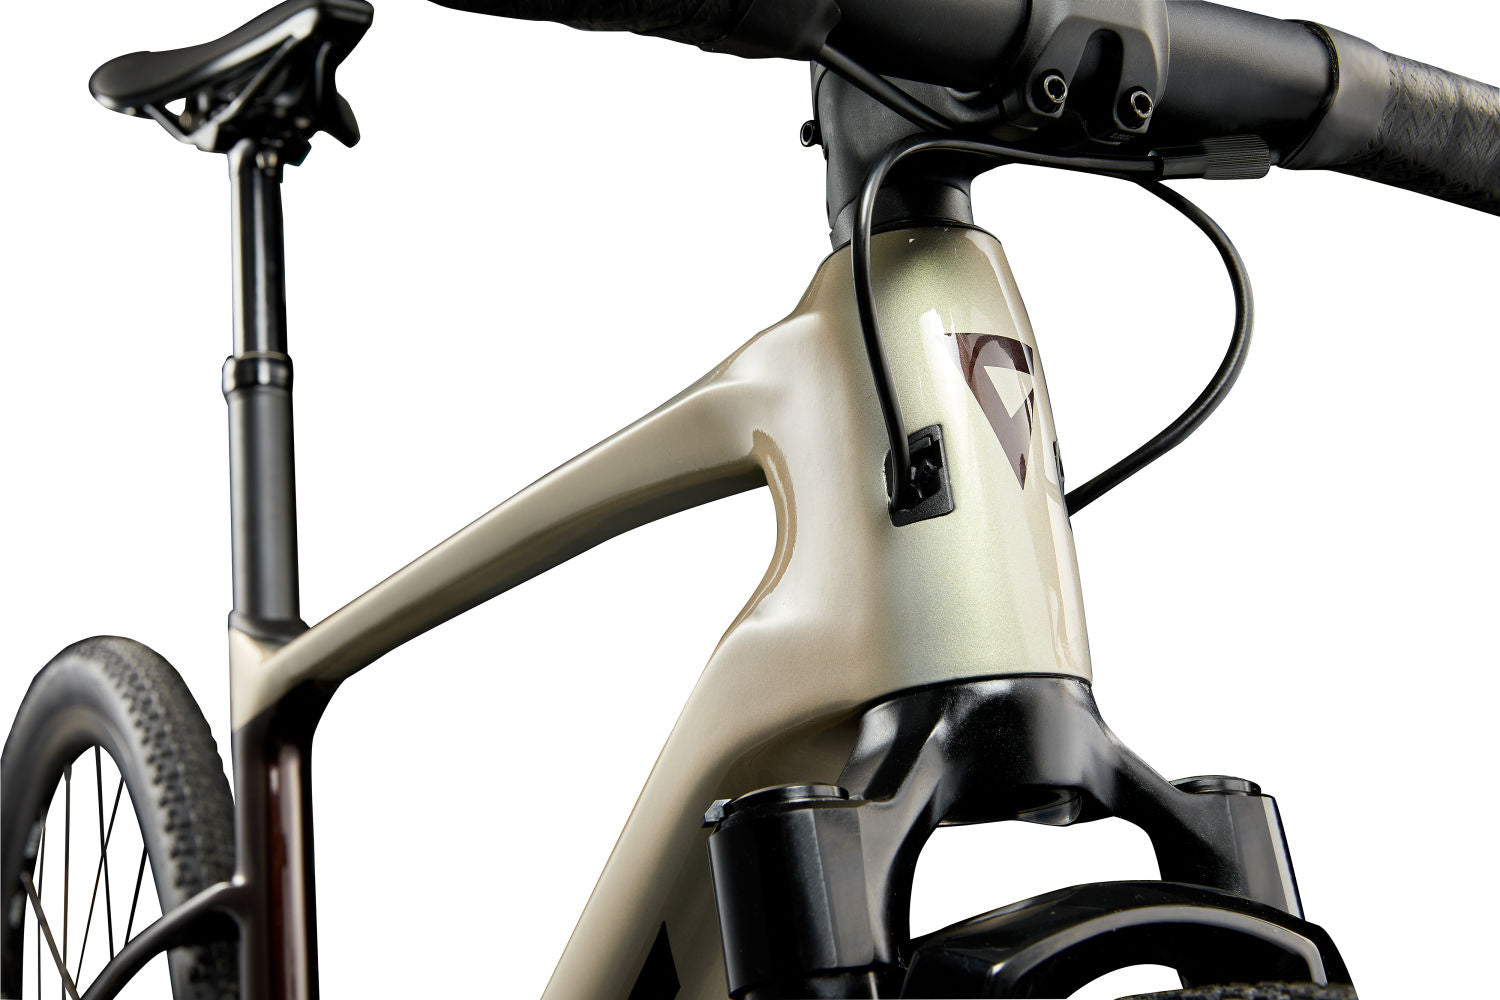
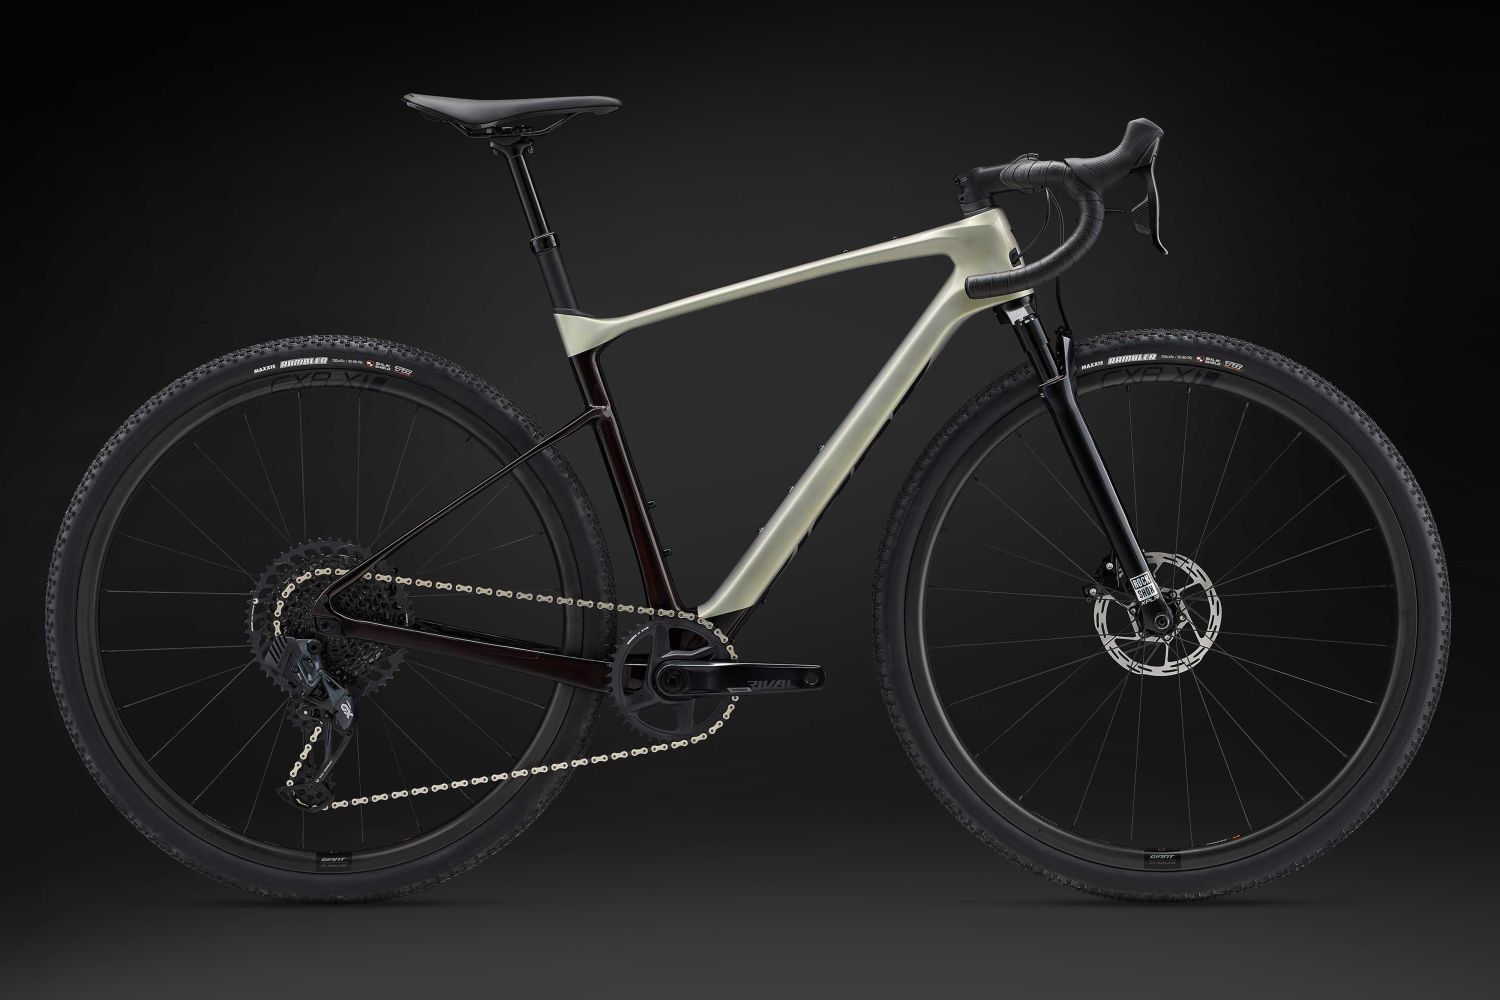
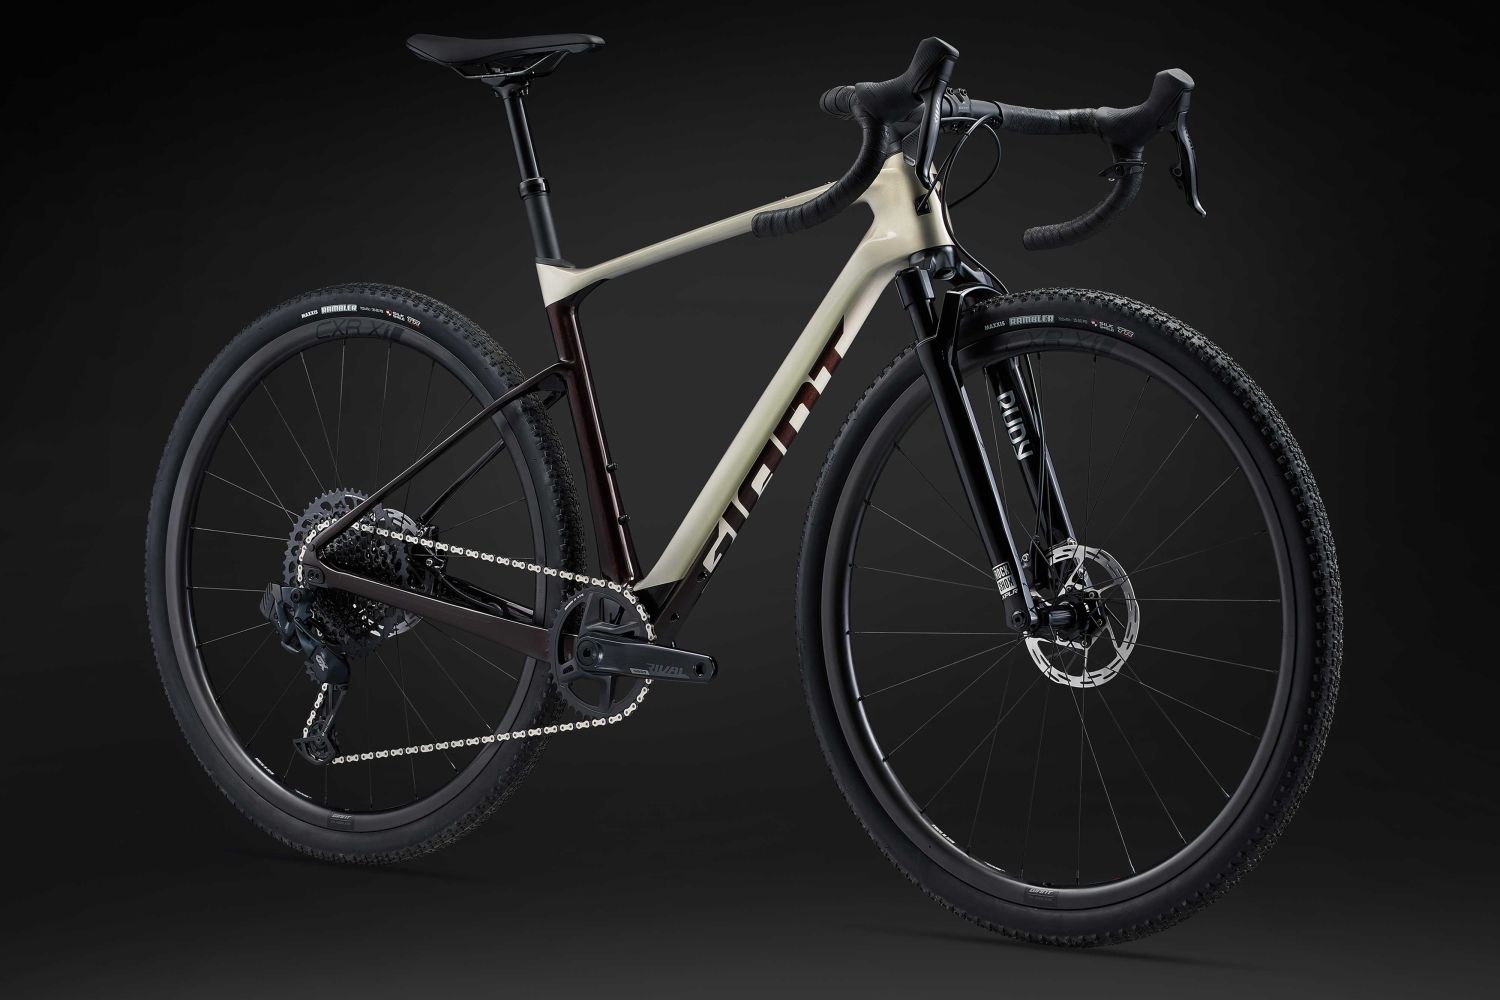
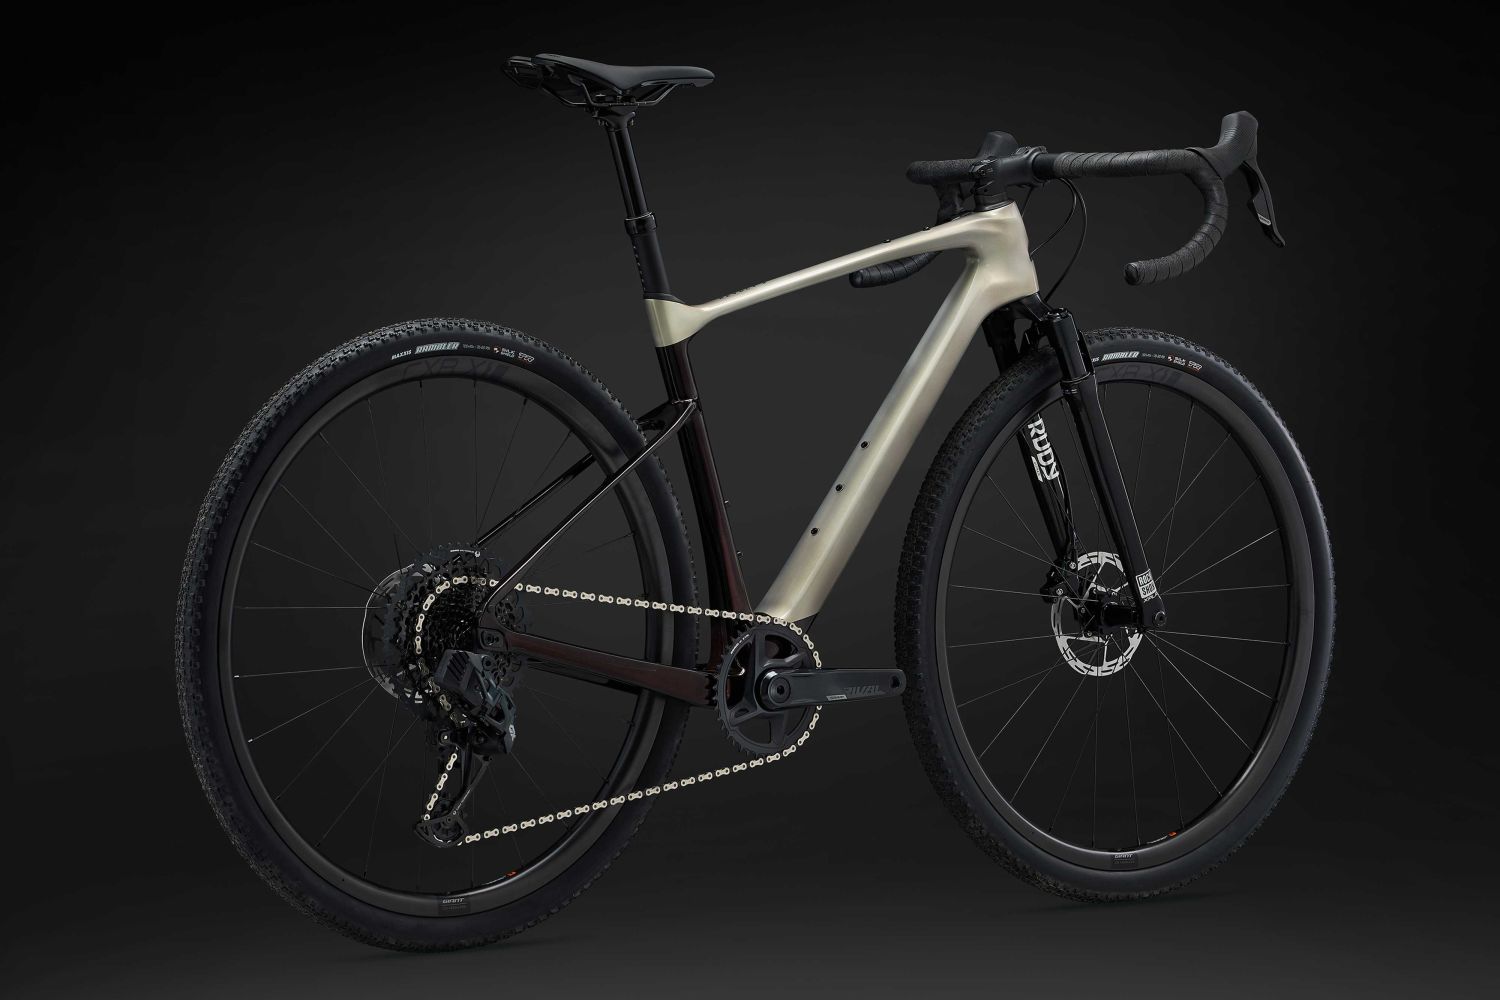
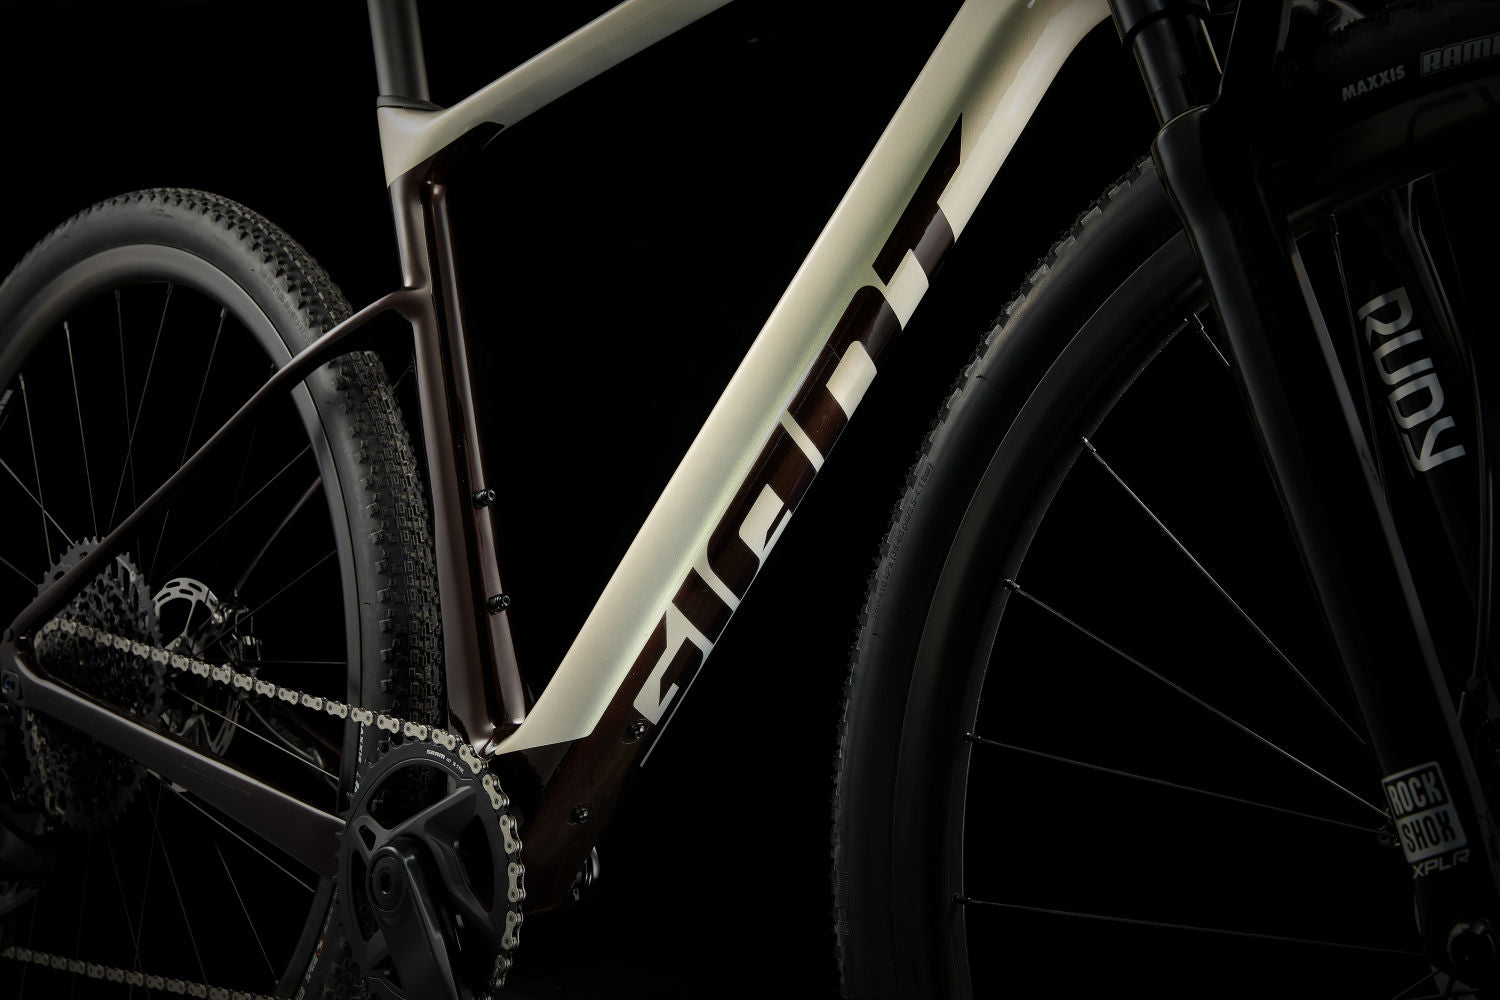
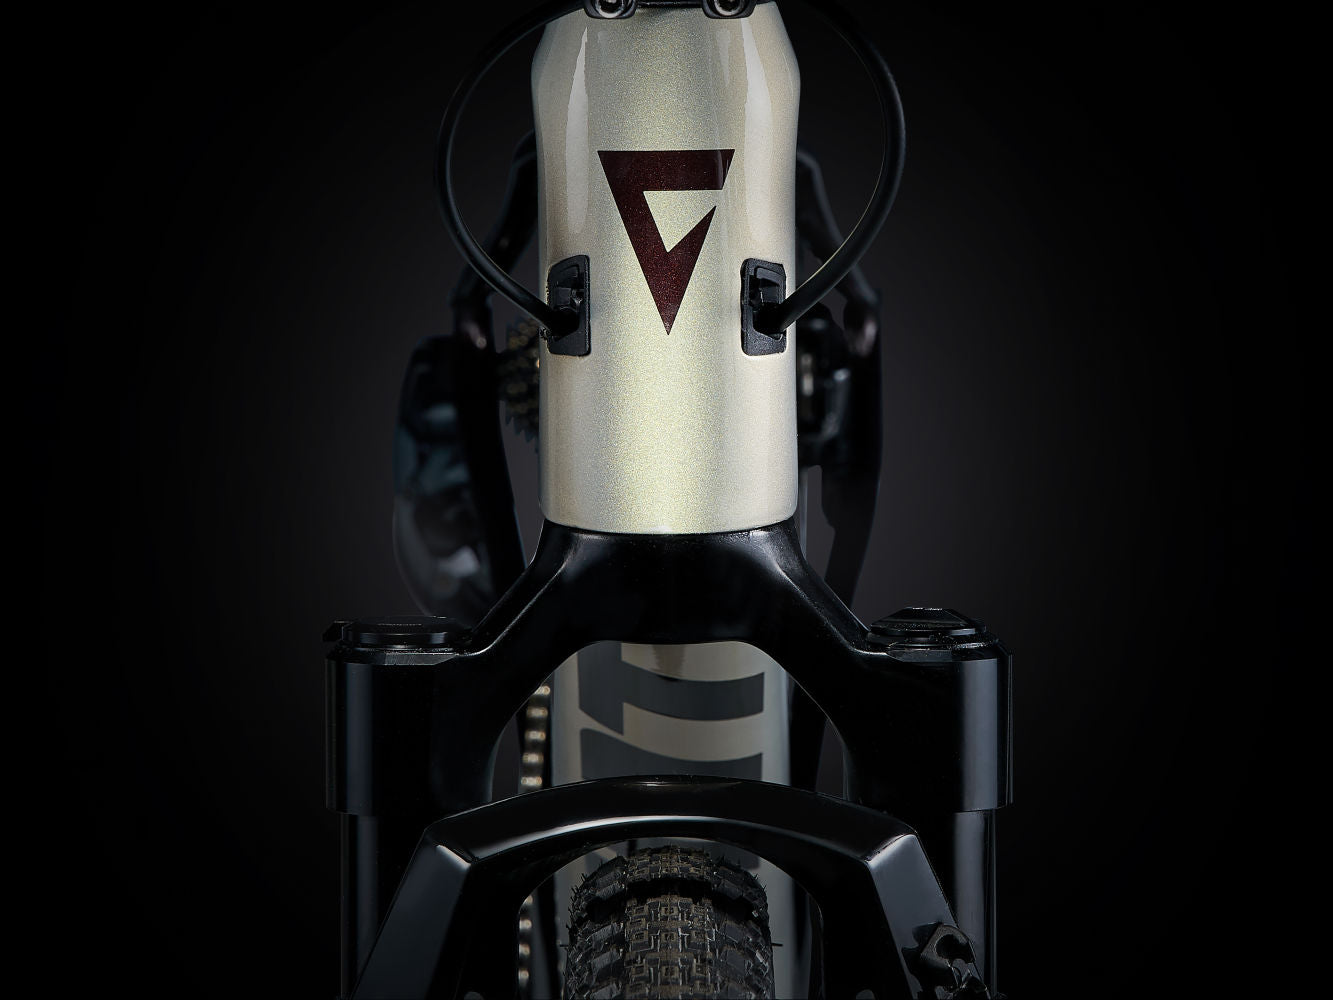
GIANT REVOLT X ADVANCED PRO 1 GRAVEL BIKE 2024 GLOSS GOLDEN HAZE/CORDOVAN


Product Details - Giant Revolt X Advanced Pro 1 Gravel Bike 2024 Gloss Golden Haze/cordovan
Product Details - Giant Revolt X Advanced Pro 1 Gravel Bike 2024 Gloss Golden Haze/cordovan
Washboard descents, sketchy dirt, gravel and rocks of all shapes and sizes.
You never know what you’ll get on a gravel ride. This composite gravel machine has front suspension and engineered compliance to help you float through it all with speed and control.
Features Giant Revolt X Advanced Pro 1 Gravel Bike 2024
- Advanced-grade Carbon Fibre Frame: Super lightweight & durable.
- SRAM Rival/GX Eagle AXS 12 Speed: Quality wireless shifting with a wide range for all terrain.
- Giant Carbon Wheelset: With tubeless technology for increased grip & reduced risk of punctures.
Specification
- Frame: Advanced-grade composite, 12x142mm thru-axle, disc, flip chip dropout
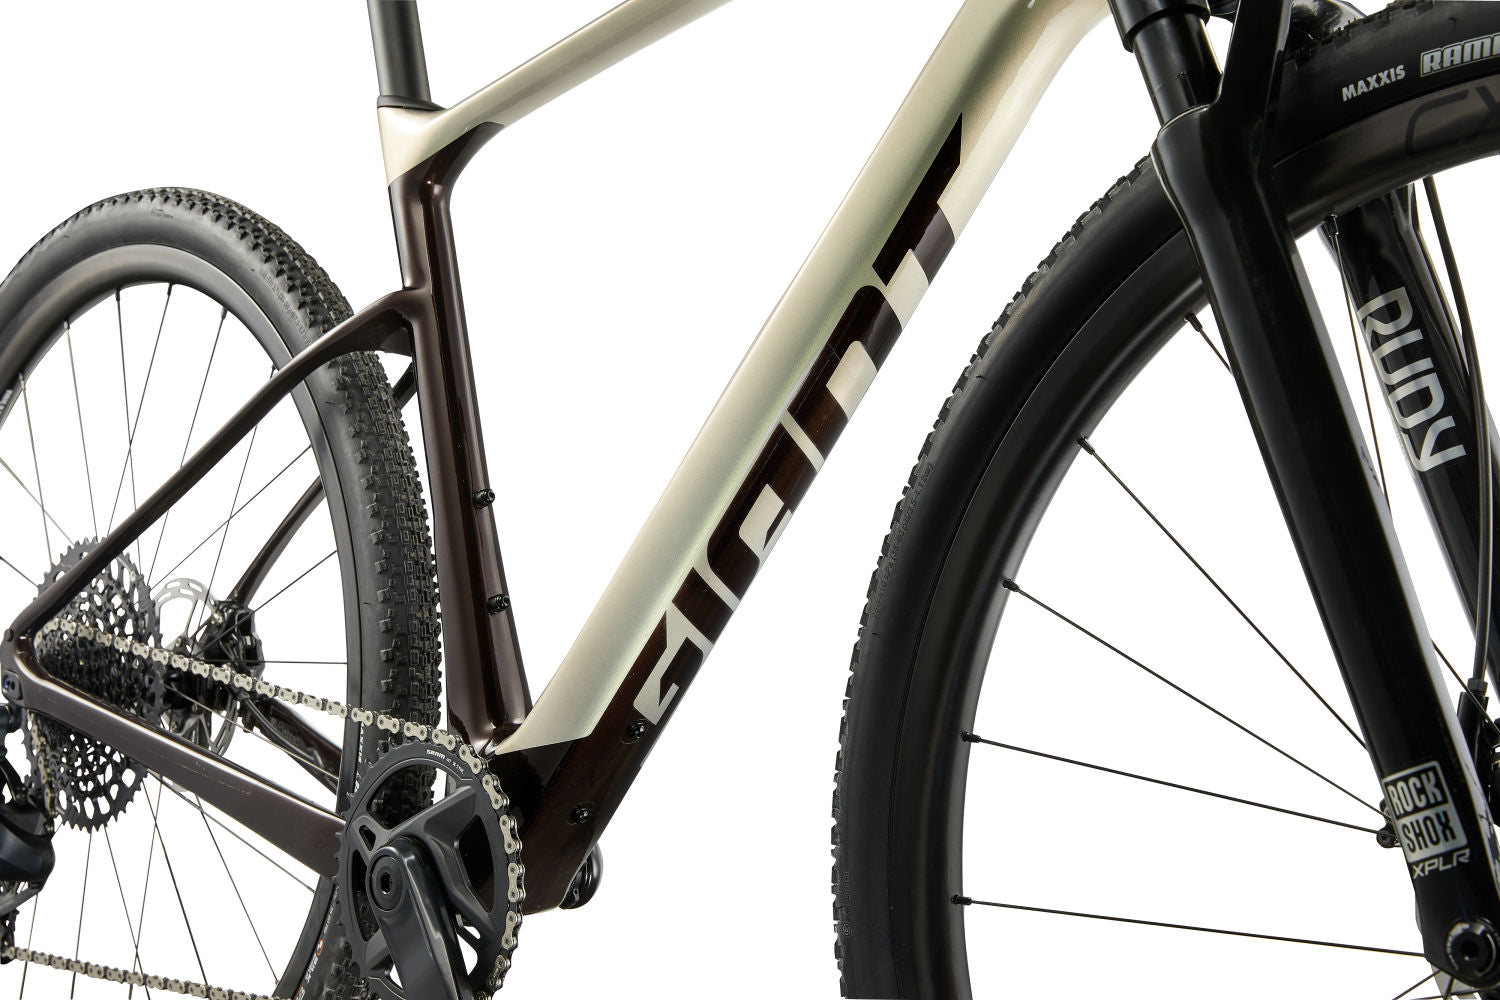
- Fork: RockShox Rudy Ultimate XPLR, 40mm, Charger Race Day damper 12x100mm thru-axle
- Gear Shifters: SRAM Rival eTap AXS, 1x12
- Chainset: SRAM Rival D1 DUB, 40t XS:170mm, S:170mm, M:172.5mm, M/L:172.5mm, L:175mm, XL:175mm
- Rear Cassette: SRAM XG-1275, 12-speed, 10x52
- Chain: SRAM GX Eagle
- Front Derailleur: N/A
- Rear Derailleur: SRAM GX Eagle AXS
- Bottom Bracket: SRAM DUB, press fit
- Pedals: Not supplied
- Rims: Giant CXR 1 X1 Carbon Disc WheelSystem, [F] 25.8mm, [R] 25.8mm
- Front Hub: Giant CXR X alloy, Centrelock, 12mm thru-axle
- Rear Hub: Giant CXR X alloy, 60t ratchet driver, Centrelock, 12mm thru-axle
- Tyres: Maxxis Rambler, 700x45c, tubeless
- Brakes: SRAM Rival eTap AXS hydraulic, SRAM PaceLine rotors [F]160mm, [R]160mm
- Handlebars: Giant Contact SL XR D-Fuse, 31.8mm XS:44cm, S:44cm, M:46cm, M/L:46cm, L:48cm, XL:48cm
- Handlebar Tape: Stratus Lite 3.0
- Stem: Giant Contact, 8-degree XS:50mm, S:50mm, M:60mm, M/L:70mm, L:70mm, XL:80mm
- Saddle: Giant Approach SL
- Seatpost: Post Moderne, dropper, 30.9mm with 30mm of suspension XS:365mm / 75mm drop S:415mm / 100mm drop
- Accessories: Tubeless prepared, 53mm max tyre size in "long" flip chip position, 45mm max tyre size in "short" flip chip position
- Weight: Not Available
We reserve the right to make changes to the product information contained on this site at any time without notice, including with respect to equipment, specifications, models, colours, materials and pricing. Due to supply chain issues, compatible parts may be substituted at any time without notice.
Bike and frame weights are based on pre-production painted frames at time of publication. Weights may vary in final production.
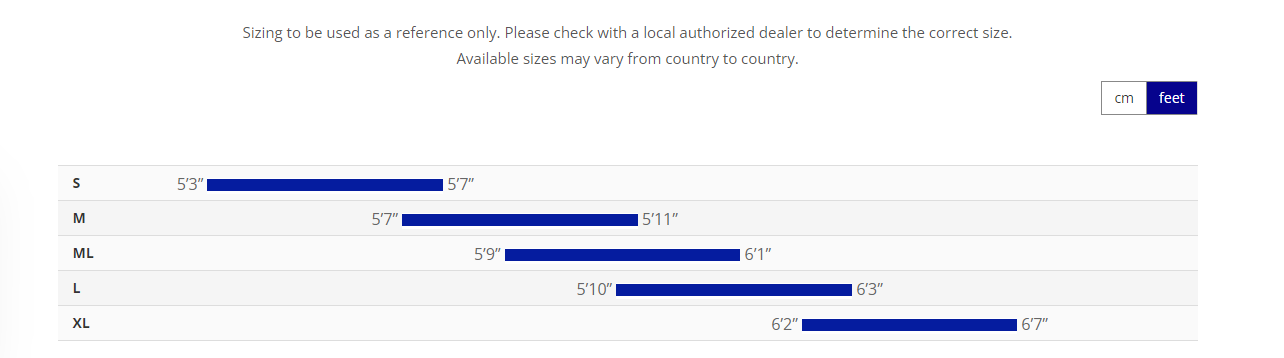
Size Guide
Size Guide

How we Build & Pack Your Bike
How we Build & Pack Your Bike
Delivery
Delivery
We offer several delivery options:
Store Collection: Pick up your order at our Salts Mill store, located at BD17 7EH.
Standard Delivery We partner with APC Euro-Tran for deliveries. Once your bike is dispatched, it typically arrives within 1 to 3 working days for Mainland UK. All bikes are fully built, checked, set up and then packed back down into a standard size bike box. Please note that electric bikes will be shipped in two boxes due to weight and size restrictions. We recommend our premium delivery service for electric bikes.
Premium Delivery We partner with DX's two-person delivery team. After dispatch, your bike usually arrives within 2 to 4 working days for Mainland UK. DX will contact you before delivery to schedule a convenient delivery date. All bikes come fully built, checked, set up and with both wheels attached. Trek bikes can only be sent via our premium delivery service.
Check out our video for more information on how your bike is assembled and packaged.
Aftercare
Aftercare
At All Terrain Cycles, we want you to ride with confidence every time. To ensure your bike or e-bike stays in peak condition, here are some essential safety and maintenance tips.
Bicycle Safety
Always wear a helmet – Safeguard against head injuries by using a properly fitted, safety-certified helmet.
Perform pre-ride checks – Before each ride, verify that brakes, tyres, and gears are in good working order.
Stay visible – Utilise lights and reflective gear when cycling in low-light conditions.
Follow road rules – Ride responsibly and remain aware of your surroundings.
Aftercare for Your New Bike Initial Check-Up (First 50-100 miles)
Gear Adjustment – New cables may stretch slightly; have a qualified mechanic check and adjust them.
Brake & Wheel Check – Inspect brakes for wear and ensure wheels are aligned properly.
Lubrication – Apply chain oil and check bolt tightness to maintain smooth performance.
Tyre Pressure – Regularly monitor to prevent flats and enhance efficiency.
Pedals - Ensure pedals are still tight and correctly fitted.
Routine Maintenance (Every Few Weeks)
Chain Care – Clean and lubricate your chain to minimise wear and prolong its life.
Brake Safety – Check brake pads and responsiveness before each ride.
Tyre Inspection – Look for punctures and ensure correct air pressure.
Handlebar & Stem Alignment – Confirm they are tight and secure to prevent instability.
Frame Safety Check – Look for any signs of damage or cracks.
Pedals - Ensure pedals are still tight and correctly fitted.
Professional Check-Ups
Have your bike serviced at least once a year, or more frequently if you ride often.
Aftercare for Your New Electric Bicycle (e-Bike) Initial Check-Up (First 50-100 miles)
Battery Care – Fully charge your battery (if required) before the first ride and store it in a dry, moderate-temperature environment.
Avoid Overcharging – Unplug the charger once fully charged to extend battery life.
Pedals - Ensure pedals are still tight and correctly fitted.
Routine e-Bike Maintenance (Every Few Weeks)
Motor Inspection – Listen for unusual noises and ensure smooth operation.
Battery & Connection Checks – Inspect cables and connectors for dirt, moisture, or damage.
Pedals - Ensure pedals are still tight and correctly fitted.
Seasonal e-Bike Maintenance
Check Electrical Components – Ensure wires and connections are clean and secure.
Professional Servicing – Have your e-bike inspected at least once a year or every 500-1000 miles for optimal performance.
By following these aftercare guidelines, you’ll help ensure that your bicycle runs smoothly, lasts longer, and remains a joy to ride. Stay safe and enjoy the ride!
If you have any problems or concerns: Contact All Terrain Customer Services on 01274 588488 or email sales@allterraincycles.co.uk
You Might Be Interested In

- SKU: 9080003104
- EPOS Code:


Product Description
Product Description
Washboard descents, sketchy dirt, gravel and rocks of all shapes and sizes.
You never know what you’ll get on a gravel ride. This composite gravel machine has front suspension and engineered compliance to help you float through it all with speed and control.
Features Giant Revolt X Advanced Pro 1 Gravel Bike 2024
- Advanced-grade Carbon Fibre Frame: Super lightweight & durable.
- SRAM Rival/GX Eagle AXS 12 Speed: Quality wireless shifting with a wide range for all terrain.
- Giant Carbon Wheelset: With tubeless technology for increased grip & reduced risk of punctures.
Specification
- Frame: Advanced-grade composite, 12x142mm thru-axle, disc, flip chip dropout
- Fork: RockShox Rudy Ultimate XPLR, 40mm, Charger Race Day damper 12x100mm thru-axle
- Gear Shifters: SRAM Rival eTap AXS, 1x12
- Chainset: SRAM Rival D1 DUB, 40t XS:170mm, S:170mm, M:172.5mm, M/L:172.5mm, L:175mm, XL:175mm
- Rear Cassette: SRAM XG-1275, 12-speed, 10x52
- Chain: SRAM GX Eagle
- Front Derailleur: N/A
- Rear Derailleur: SRAM GX Eagle AXS
- Bottom Bracket: SRAM DUB, press fit
- Pedals: Not supplied
- Rims: Giant CXR 1 X1 Carbon Disc WheelSystem, [F] 25.8mm, [R] 25.8mm
- Front Hub: Giant CXR X alloy, Centrelock, 12mm thru-axle
- Rear Hub: Giant CXR X alloy, 60t ratchet driver, Centrelock, 12mm thru-axle
- Tyres: Maxxis Rambler, 700x45c, tubeless
- Brakes: SRAM Rival eTap AXS hydraulic, SRAM PaceLine rotors [F]160mm, [R]160mm
- Handlebars: Giant Contact SL XR D-Fuse, 31.8mm XS:44cm, S:44cm, M:46cm, M/L:46cm, L:48cm, XL:48cm
- Handlebar Tape: Stratus Lite 3.0
- Stem: Giant Contact, 8-degree XS:50mm, S:50mm, M:60mm, M/L:70mm, L:70mm, XL:80mm
- Saddle: Giant Approach SL
- Seatpost: Post Moderne, dropper, 30.9mm with 30mm of suspension XS:365mm / 75mm drop S:415mm / 100mm drop
- Accessories: Tubeless prepared, 53mm max tyre size in "long" flip chip position, 45mm max tyre size in "short" flip chip position
- Weight: Not Available
We reserve the right to make changes to the product information contained on this site at any time without notice, including with respect to equipment, specifications, models, colours, materials and pricing. Due to supply chain issues, compatible parts may be substituted at any time without notice.
Bike and frame weights are based on pre-production painted frames at time of publication. Weights may vary in final production.
Size Guide
Size Guide
How to Build Your Bike
How to Build Your Bike
Delivery
Delivery
We offer several delivery options:
Store Collection: Pick up your order at our Salts Mill store, located at BD17 7EH.
Standard Delivery We partner with APC Euro-Tran for deliveries. Once your bike is dispatched, it typically arrives within 1 to 3 working days for Mainland UK. All bikes are fully built, checked, set up and then packed back down into a standard size bike box. Please note that electric bikes will be shipped in two boxes due to weight and size restrictions. We recommend our premium delivery service for electric bikes.
Premium Delivery We partner with DX's two-person delivery team. After dispatch, your bike usually arrives within 2 to 4 working days for Mainland UK. DX will contact you before delivery to schedule a convenient delivery date. All bikes come fully built, checked, set up and with both wheels attached. Trek bikes can only be sent via our premium delivery service.
Check out our video for more information on how your bike is assembled and packaged.
Aftercare
Aftercare
At All Terrain Cycles, we want you to ride with confidence every time. To ensure your bike or e-bike stays in peak condition, here are some essential safety and maintenance tips.
Bicycle Safety
Always wear a helmet – Safeguard against head injuries by using a properly fitted, safety-certified helmet.
Perform pre-ride checks – Before each ride, verify that brakes, tyres, and gears are in good working order.
Stay visible – Utilise lights and reflective gear when cycling in low-light conditions.
Follow road rules – Ride responsibly and remain aware of your surroundings.
Aftercare for Your New Bike Initial Check-Up (First 50-100 miles)
Gear Adjustment – New cables may stretch slightly; have a qualified mechanic check and adjust them.
Brake & Wheel Check – Inspect brakes for wear and ensure wheels are aligned properly.
Lubrication – Apply chain oil and check bolt tightness to maintain smooth performance.
Tyre Pressure – Regularly monitor to prevent flats and enhance efficiency.
Pedals - Ensure pedals are still tight and correctly fitted.
Routine Maintenance (Every Few Weeks)
Chain Care – Clean and lubricate your chain to minimise wear and prolong its life.
Brake Safety – Check brake pads and responsiveness before each ride.
Tyre Inspection – Look for punctures and ensure correct air pressure.
Handlebar & Stem Alignment – Confirm they are tight and secure to prevent instability.
Frame Safety Check – Look for any signs of damage or cracks.
Pedals - Ensure pedals are still tight and correctly fitted.
Professional Check-Ups
Have your bike serviced at least once a year, or more frequently if you ride often.
Aftercare for Your New Electric Bicycle (e-Bike) Initial Check-Up (First 50-100 miles)
Battery Care – Fully charge your battery (if required) before the first ride and store it in a dry, moderate-temperature environment.
Avoid Overcharging – Unplug the charger once fully charged to extend battery life.
Pedals - Ensure pedals are still tight and correctly fitted.
Routine e-Bike Maintenance (Every Few Weeks)
Motor Inspection – Listen for unusual noises and ensure smooth operation.
Battery & Connection Checks – Inspect cables and connectors for dirt, moisture, or damage.
Pedals - Ensure pedals are still tight and correctly fitted.
Seasonal e-Bike Maintenance
Check Electrical Components – Ensure wires and connections are clean and secure.
Professional Servicing – Have your e-bike inspected at least once a year or every 500-1000 miles for optimal performance.
By following these aftercare guidelines, you’ll help ensure that your bicycle runs smoothly, lasts longer, and remains a joy to ride. Stay safe and enjoy the ride!
If you have any problems or concerns: Contact All Terrain Customer Services on 01274 588488 or email sales@allterraincycles.co.uk
You Might Be Interested In