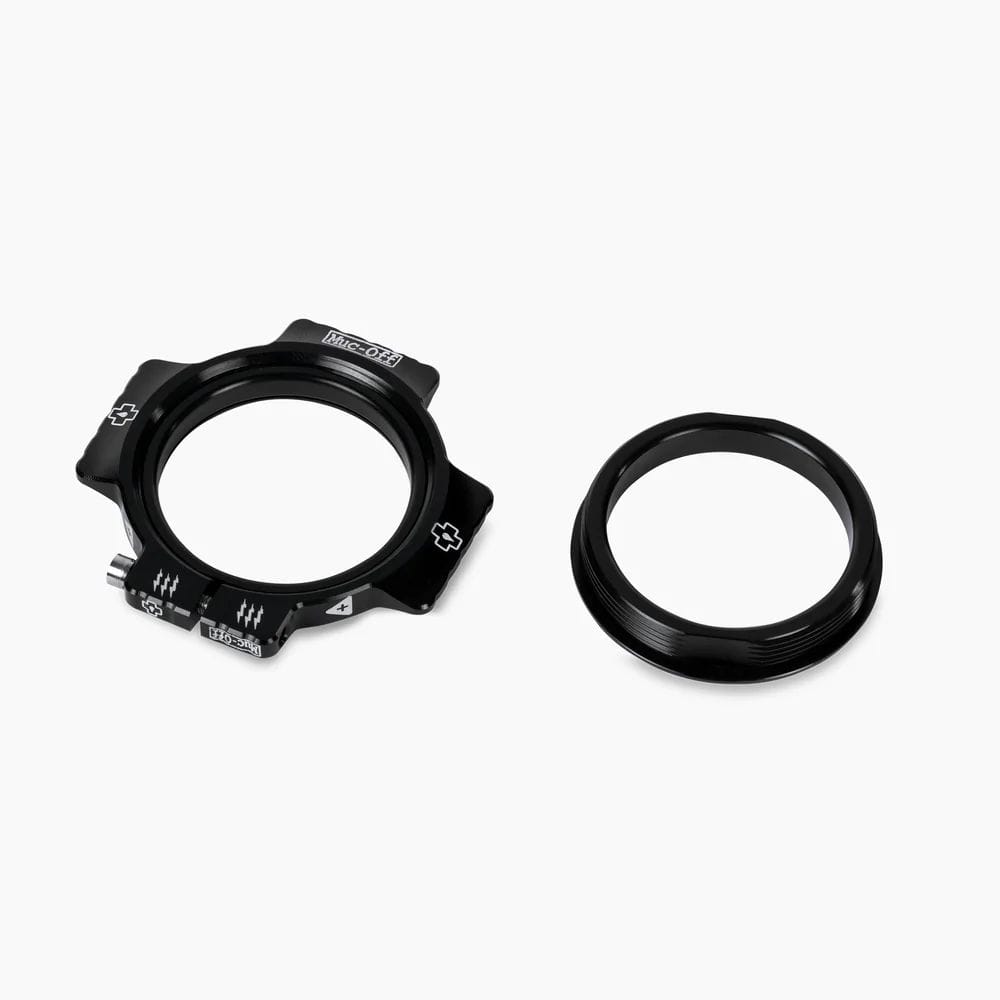
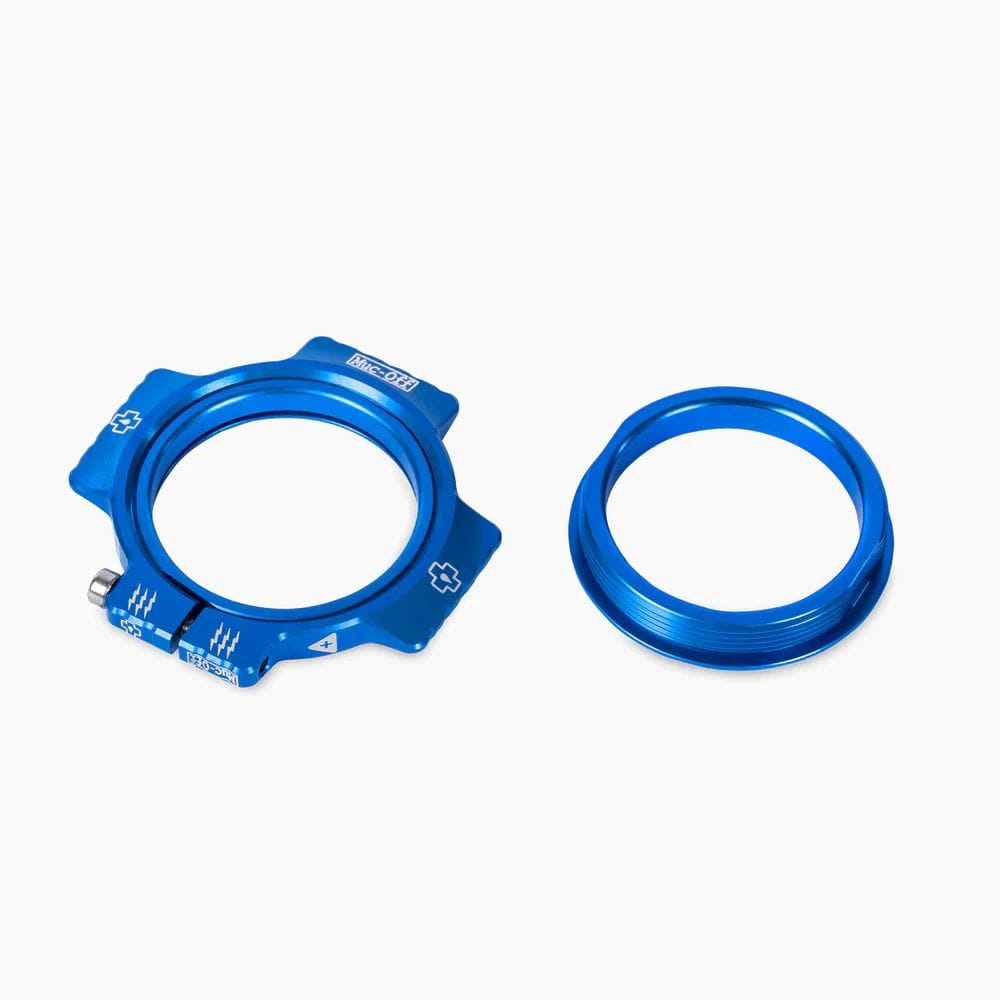
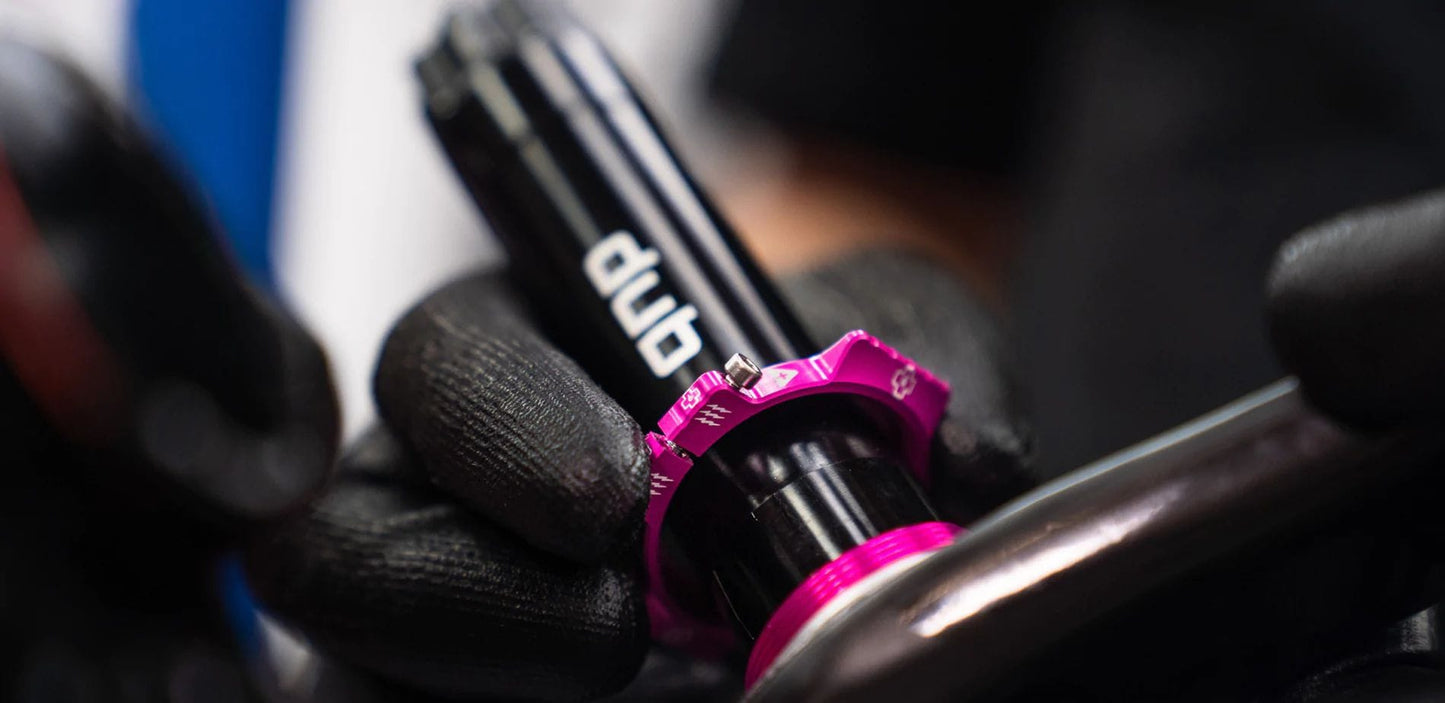
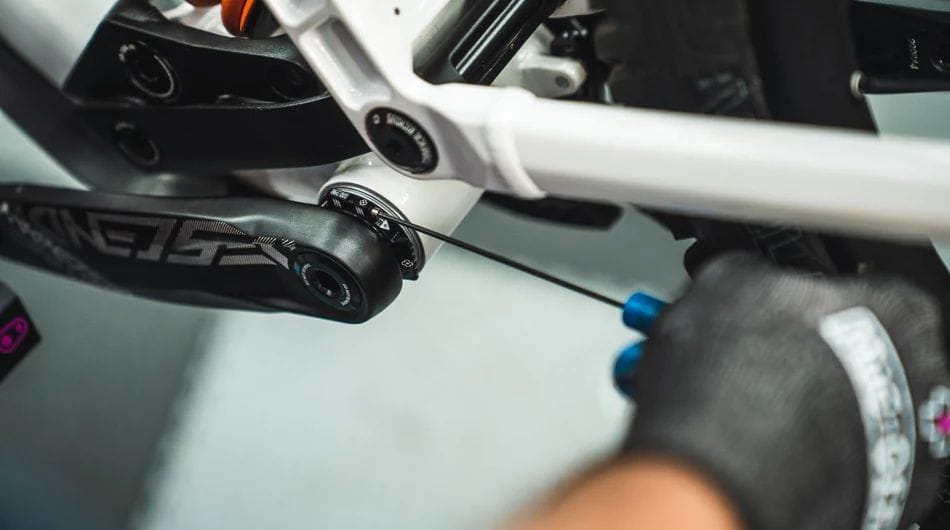
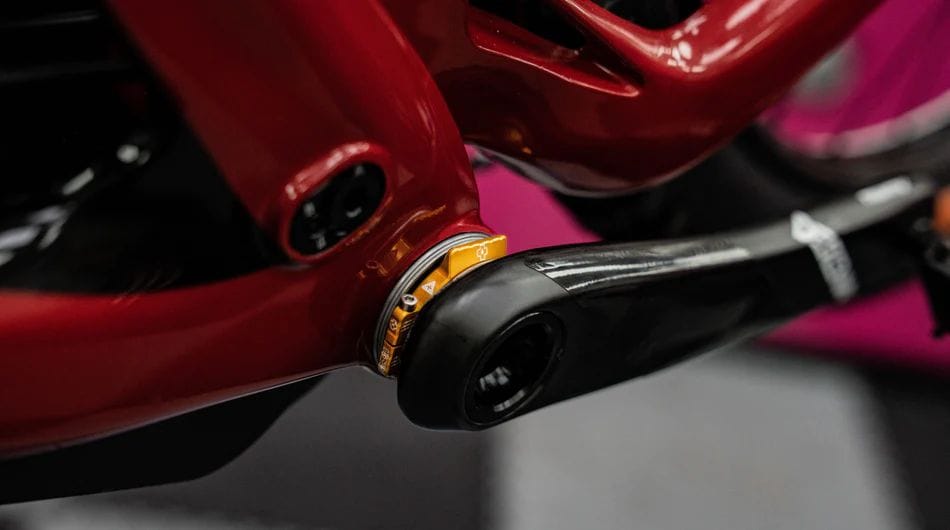
The Muc-Off Crank Preload Ring is a super durable, precision CNC machined 7075 piece of hardware.
It allows you to precisely adjust the ‘preload’ tension on the bottom bracket bearings.
What does this do? It helps to remove the side-to-side play and slack in thru-spindle bottom brackets, to help maximise the life of your bottom bracket bearing, as well as giving you a creak-free ride. It also comes in our classic anodised colours for added bling!
It fits onto the left crank arm of any mountain, gravel or road bikes that have SRAM, RaceFace or Easton 30mm spindle cranks, or SRAM DUB 28.99mm spindles installed.
Features
- Precision CNC machined, 7075 aluminium body and threaded adapter ring for a perfect fit
- Stainless steel hardware
- Allows you to precisely adjust the preload tension on the bottom bracket to help extend the life of your bb bearing!
Compatibility
- 30 mm SRAM crank
- 30 mm Race Face crank
- 30 mm Eaton crank
- 28.99 mm SRAM DUB crank
Colour
- Black
- Blue
- Gold
- Green
- Grey
- Iridescent
- Orange
- Pink
- Purple
- Red
- Silver
- Turquoise
Contents
- 1 x Muc-Off Crank Preload Ring
We reserve the right to make changes to the product information contained on this site at any time without notice, including with respect to equipment, specifications, models, colours, materials and pricing. Due to supply chain issues, compatible parts may be substituted at any time without notice.
Weights are based off pre-production products at time of publication. Weights may vary in final production.